
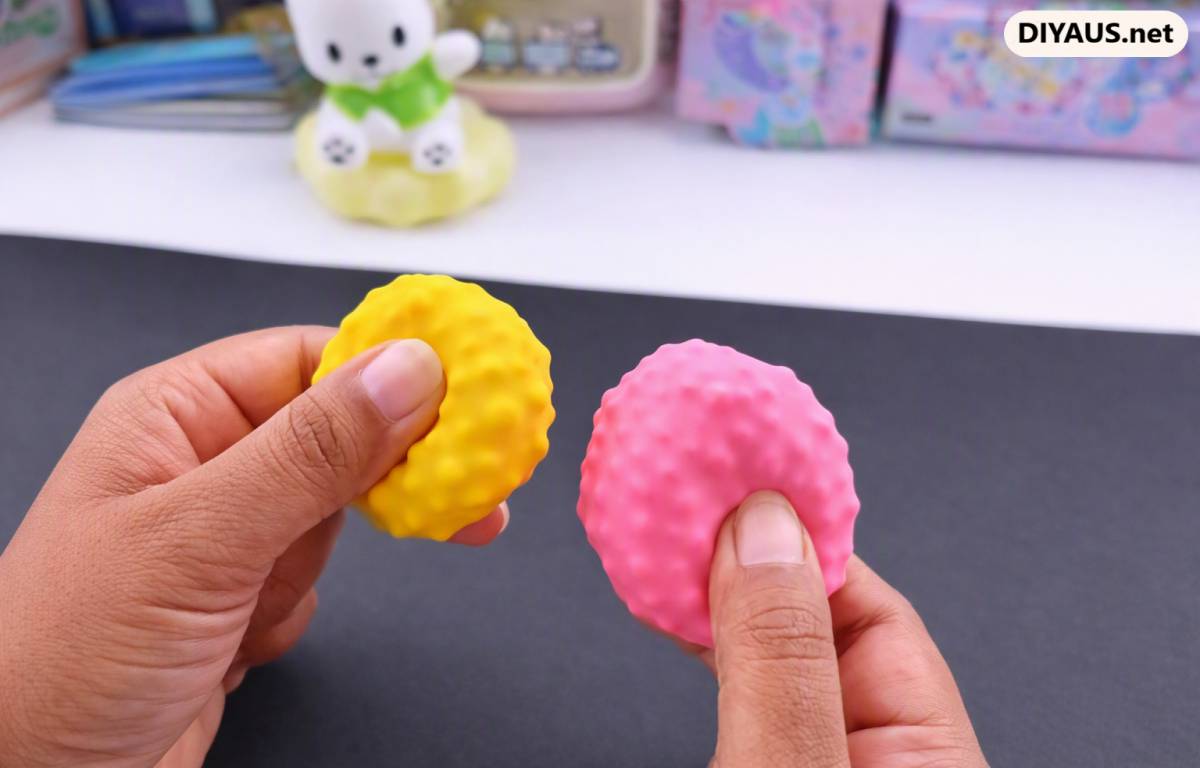
The first time I made these DIY textured squishy balls, it was one of those lazy Saturday afternoons where I just needed something to do with my hands. I had a leftover bag of micro beads from an old slime project, a bunch of balloons lying around, and I thought, why not try making something I could actually squeeze when I’m stressed? Ten minutes later I had a handful of pastel squishy balls that felt so good in my palm—bumpy on the inside, stretchy on the outside, with that perfect give when you press. I ended up making a whole little collection and kept one on my desk.
Now I make them all the time, for myself when I need a break, for gifts, or just because squeezing one is oddly satisfying. This DIY textured squishy balls recipe is super beginner-friendly, uses stuff you probably already have, and gives you that addictive tactile feel both kids and adults go crazy for.
Before we dive into the project, please note that this post contains affiliate links. If you click through and make a purchase, I may earn a small commission at absolutely no extra cost to you. As an Amazon Associate, I earn from qualifying purchases to keep this blog alive and pay some bills.
Supplies & Crafting Toolkit
First, round up these simple things. I keep a little kit in a shoebox now because once you make one, you’ll want to make ten more.
- Assorted Latex Balloons
- Mini Styrofoam Micro Beads
- Mini Plastic Funnel or Tube
- Teaspoon or Small Scoop
- Black Permanent Marker or Paint Pen
- Craft Scissors
- Craft Syringe
- 👉🛒 SHOP HERE
To save your time, I gathered all the supplies that I have used in the list 🛒.
Step-by-Step Tutorial
Prep Your Funnel Take an uninflated balloon and give the neck a couple gentle stretches so it’s not so tight. Slide the opening snugly over your funnel or bottle top, making a good seal so beads don’t leak while you fill. I always stretch the balloon first now because it makes everything easier and less frustrating when you’re trying to push beads through.
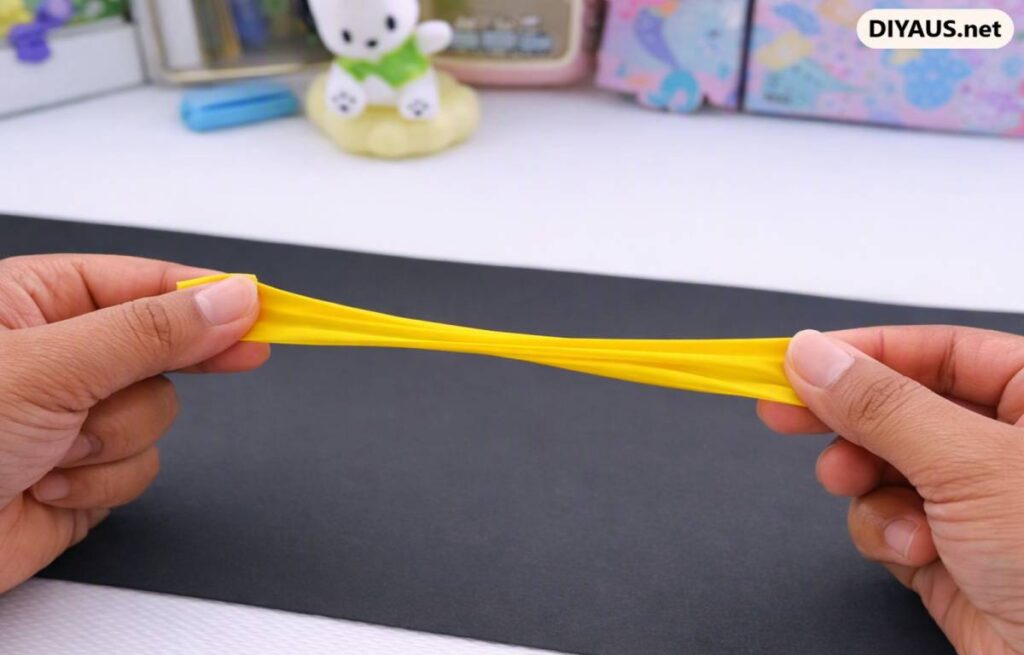
Scoop and Fill with Micro Beads Using your teaspoon, slowly pour the colorful beads into the funnel. Give the side a gentle tap so they slide down nicely. Keep adding until the balloon’s main body feels plump and firm, like a good stress ball. Don’t pack it rock hard—you want that nice squish when you press. I usually stop when it still has a little give left in it.
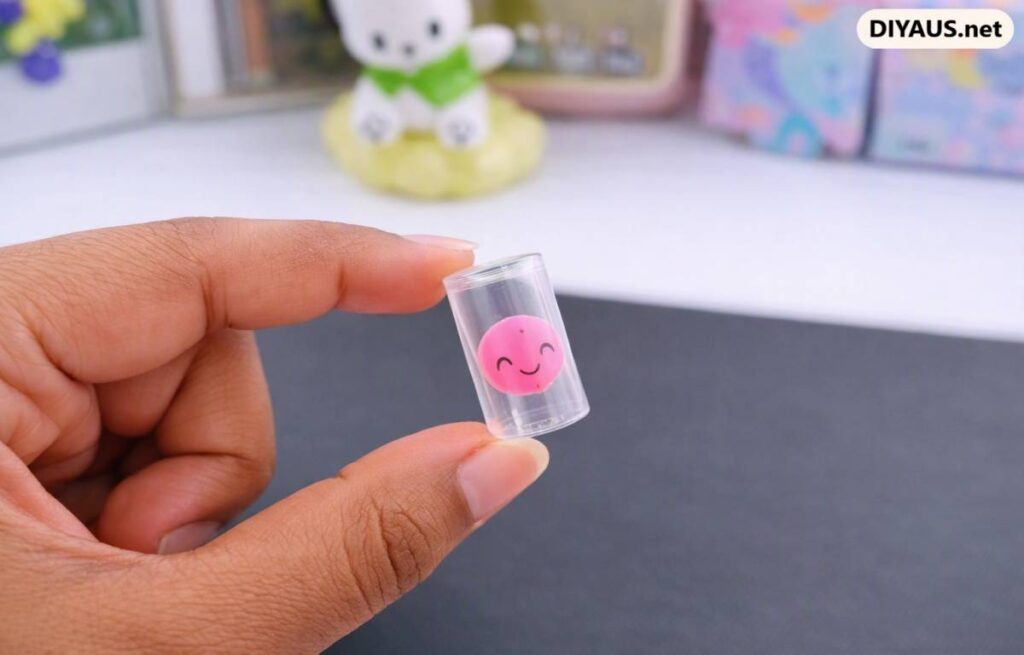
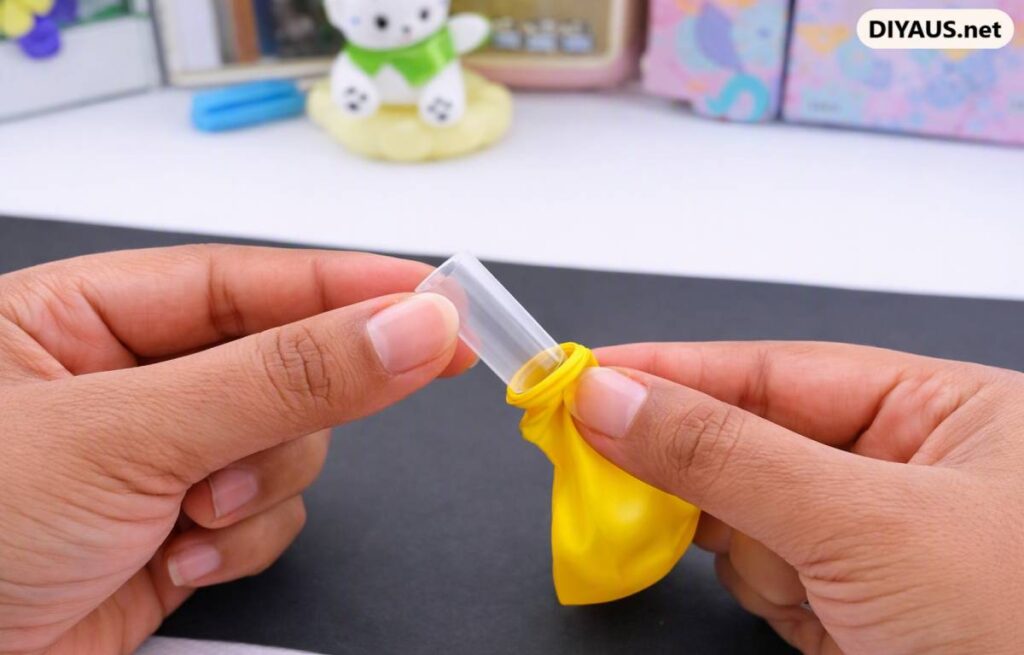
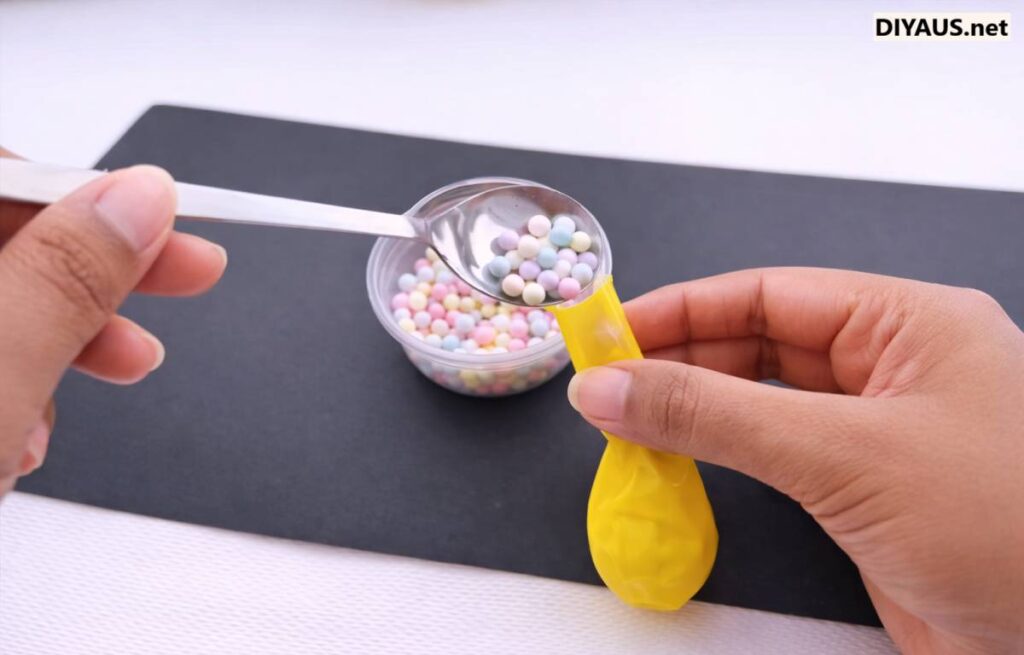
Pack and Compact If a few beads get stuck in the neck, use the flat end of a pen or marker to nudge them down. You want the balloon evenly filled so the texture feels consistent all over. This part takes maybe ten seconds but makes a huge difference in how satisfying the finished ball feels.
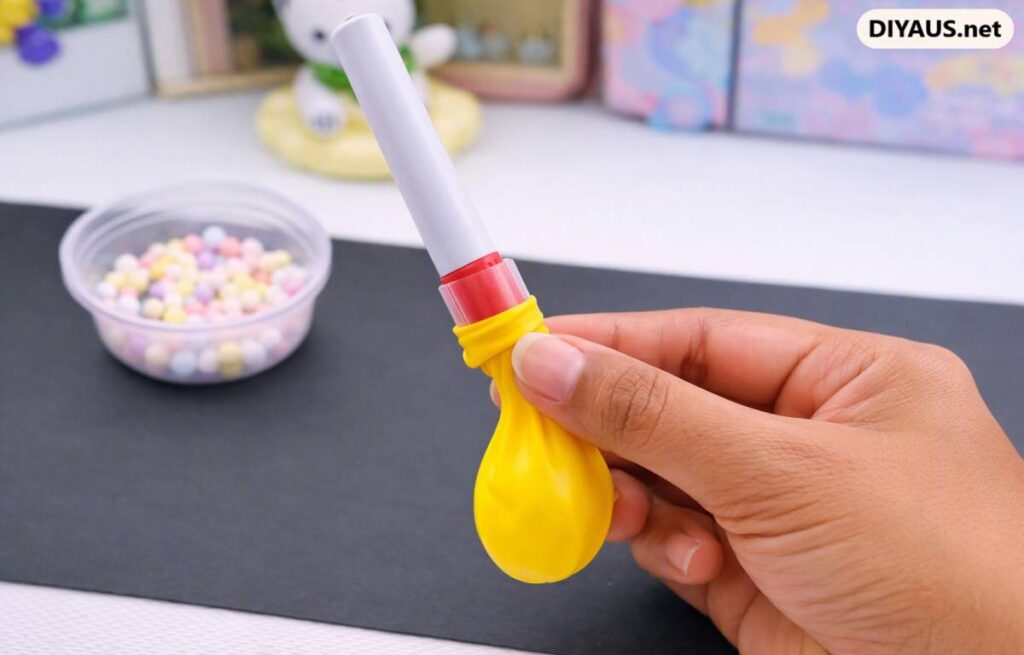
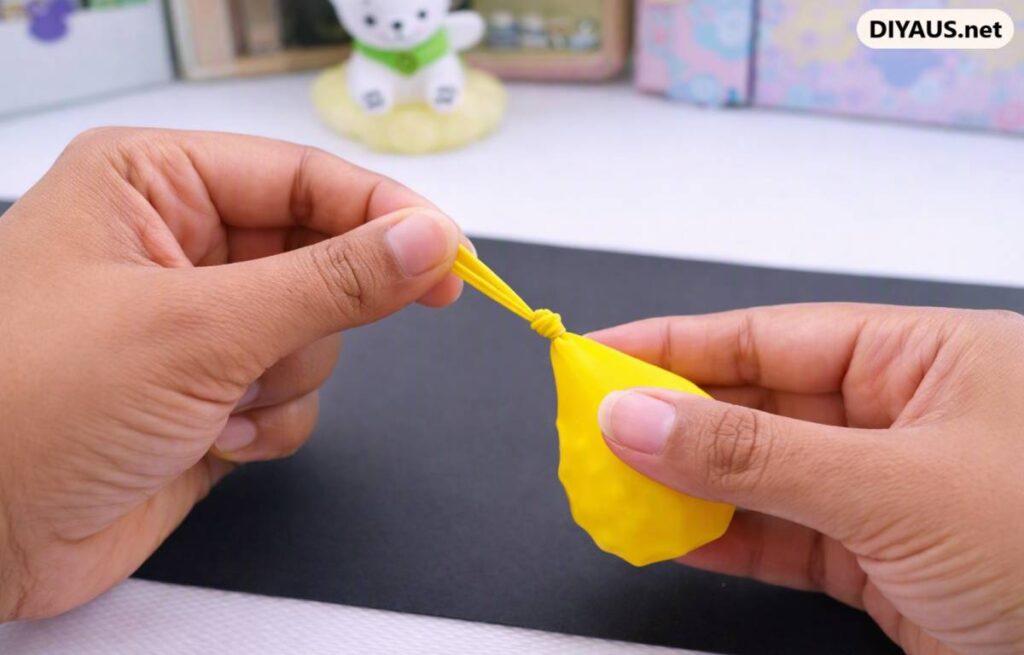
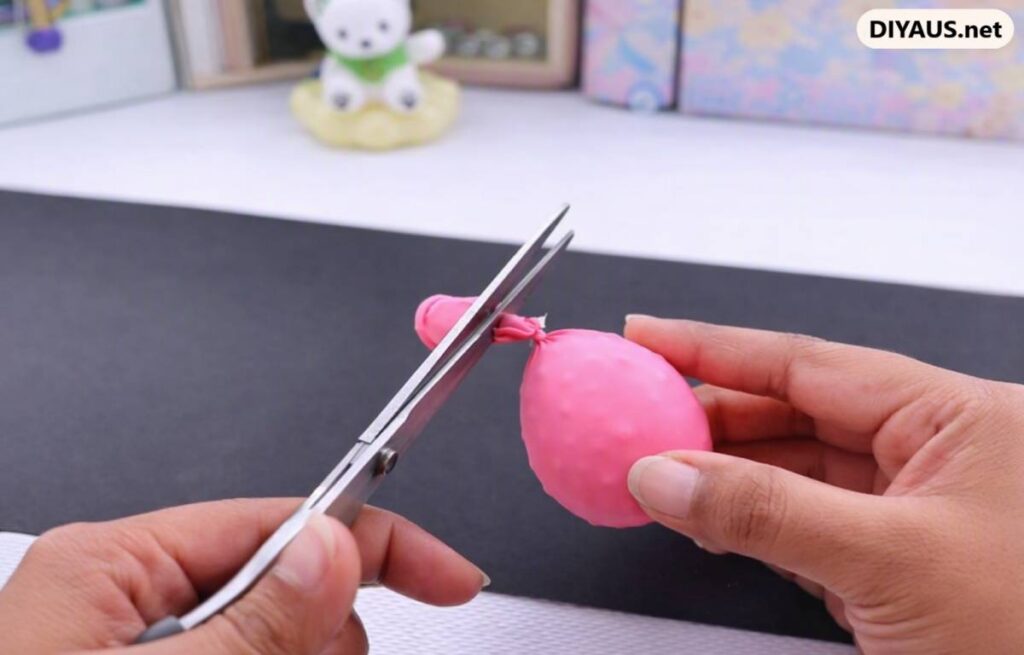
Tie Off and Trim Pinch the neck tight, slide the balloon off the funnel, stretch the opening, and tie a solid knot right up against the beads. Snip the extra rubber tail with scissors for a clean look. I double-knot it, especially if kids will be playing hard with them.
Vacuum Seal for Extra Texture (Optional) For that super defined bumpy grid look, take a small craft syringe and carefully poke it near the knot. Pull the plunger back a bit to suck out some air. The balloon tightens right around every bead and the texture really pops. It’s optional but I do it on almost every one now because it feels so much better in your hand.
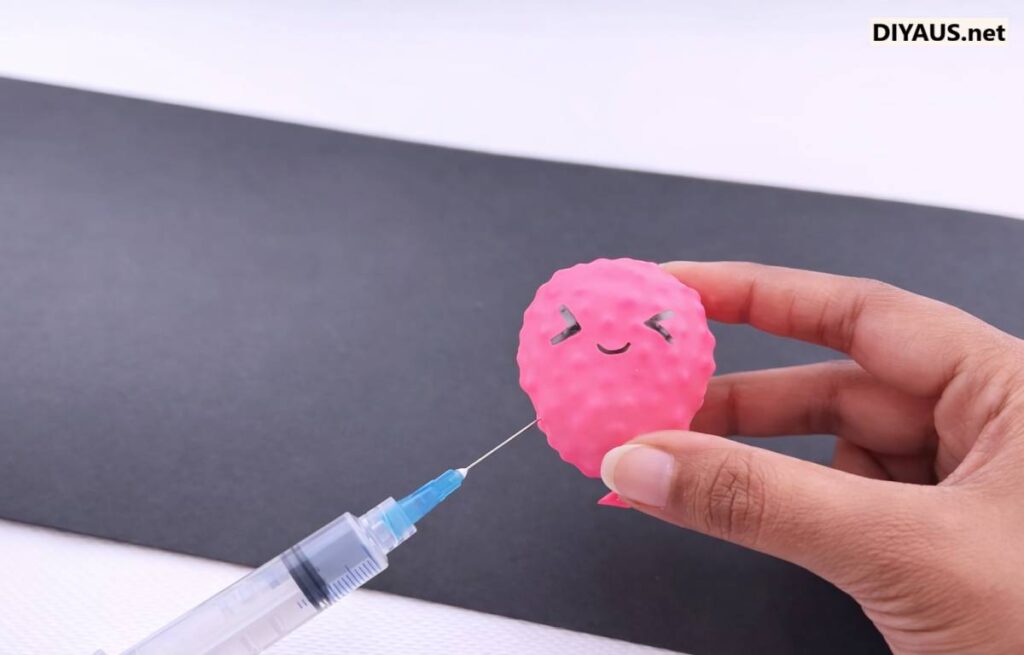
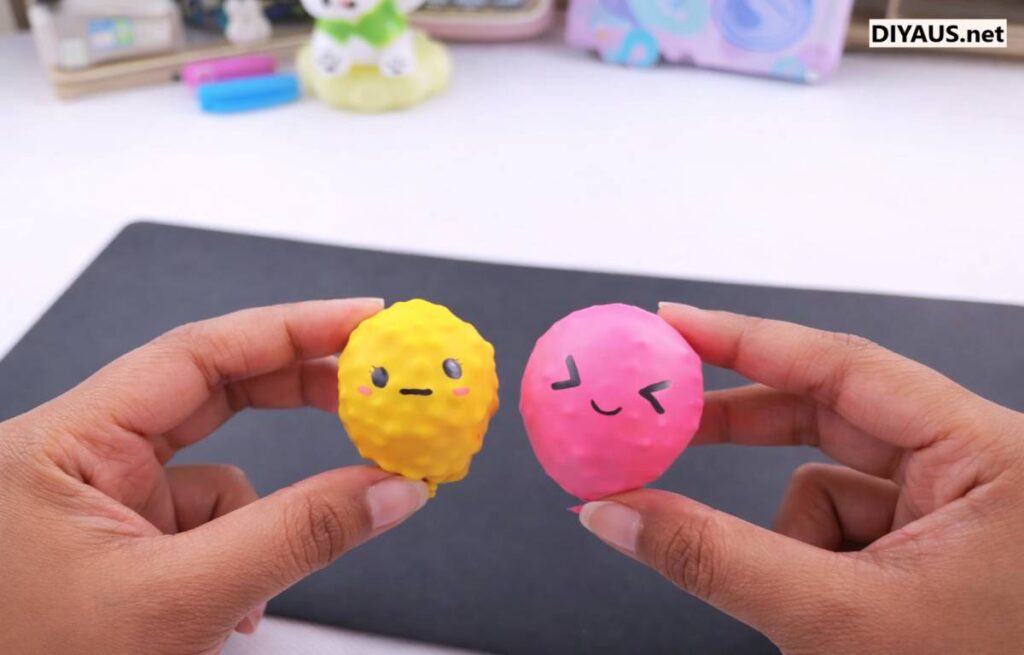
Draw Cute Kawaii Expressions This is my favorite part. Grab a black fine-tip marker and draw little faces—happy eyes, blush cheeks, tiny smiles, or silly winks. Let the ink dry for half a minute so it doesn’t smear when squeezed. I usually start on the smoother side, then flip it to see how it looks on the bumpy texture. Kids go wild customizing their own, and it turns each ball into its own little character.
Tips for Best Results
If you’re making these for little kids or rough play, double-layer the balloon. Stretch a second one over the filled one before tying—it adds durability and I’ve had sets last months longer that way. I did this for my niece and she’s still squeezing them hard.
Keep mess under control with a tray or old newspaper underneath. Those beads are tiny and love to roll, especially with static. A damp paper towel nearby picks them up fast. I’ve had them scatter under furniture more times than I want to count.
Play with colors and balloon combos. Pastel beads in a clear balloon look pretty when stretched. I made a rainbow set for gifts last year and everyone kept asking where I got them.
For a softer, bouncier feel, leave a tiny bit of air inside instead of vacuum sealing all the way. It changes the squish in a nice way, especially for stress relief. I switch it up depending on my mood.
Keep a finished bowl of them on your desk. They look cute sitting out and you always have one ready when you need a quick squeeze break during the day.
Suggestions & Creative Uses
These aren’t just desk toys. I keep a couple in my bag for waiting rooms or long calls where I need my hands busy. They make sweet little gifts, stocking stuffers, or party favors. For a full sensory setup, make different firmness levels and let kids sort them by color or how they feel. I’ve also used them during deadlines when my brain won’t settle, and the squeezing really helps.
Pair them with other easy crafts like painted rocks or homemade slime for a whole sensory afternoon. They pack light in a zip bag, so they’re great for car rides or flights too. I’ve thrown a few in my carry-on more than once.
Common Mistakes to Avoid
Don’t stuff the balloon too full. Too many beads and it turns rock hard with almost no squish. I did that once and it felt like holding a marble—way less fun.
Make sure your funnel seal is tight. If it’s loose, beads spill everywhere and you’ll spend forever cleaning up. I stretch the balloon neck firmly now and it saves so much mess.
Let the marker dry completely before squeezing. Wet ink smears and ruins the cute face you just drew. I wait the full thirty seconds every time now.
Skip thin balloons if they’ll get heavy use. They pop easier, especially with excited kids. I always pick standard thickness for anything going to little hands.
Storing Tips
Keep your finished squishy balls in a bowl or jar on a shelf where they won’t get stepped on. They stay good for months as long as the balloon doesn’t get a hole. For travel, toss them in a small zip bag so nothing spills if one pops. I keep mine in a desk drawer for easy grabbing during the day, and they still feel fresh even after weeks of regular use.
Last word
Making these DIY textured squishy balls has turned into one of my favorite quick crafts. They’re cheap, fast, and genuinely useful when I need to calm my hands or mind. I still catch myself smiling every time I pick one up and feel those little beads move under the rubber. The best part is how easy it is to make them your own—different colors, firmness, silly faces, whatever you feel like. I’ve given them as gifts, used them during stressful work calls, and watched my niece’s face light up when she got her own colorful set. They’re small projects, but they bring a surprising amount of joy.
If you try this, tell me how it went. Did you make a whole rainbow batch? Add a drop of scent? Draw goofy faces or keep them plain? Share your version in the comments or post a photo somewhere—I always get a kick out of seeing how people make these little balls their own. Sometimes the simplest crafts end up being the ones we reach for most.
FAQs with Practical Answers
Can I make them without a funnel? Yes, cut the top off a clean plastic bottle. It works great and costs nothing if you already have one lying around.
How long do they last? With normal squeezing, several months easy. Double-layer the balloon and they last even longer, especially with kids around.
Are they safe for young children? Yes, but keep an eye on little ones under 3. Use thicker balloons and make sure the beads are sealed tight so nothing small can come out.
Can I add scent? Absolutely. A tiny drop of essential oil on the outside before tying works nicely. I’ve used lavender when I wanted something calming.
What if beads spill while filling? Work over a tray or newspaper. A damp paper towel grabs them fast because of static. I’ve had them roll under the fridge more times than I want to admit.