
Reed diffusers are a simple yet elegant way to infuse your home with delightful fragrances. Not only are they an excellent alternative to candles and plug-in air fresheners, but they’re also customizable, cost-effective, and easy to make at home. In this guide, we’ll walk you through everything you need to know to craft your own DIY reed diffuser, including expert tips and irresistible scent combinations you’ll adore.
What You Need to Make a DIY Reed Diffuser
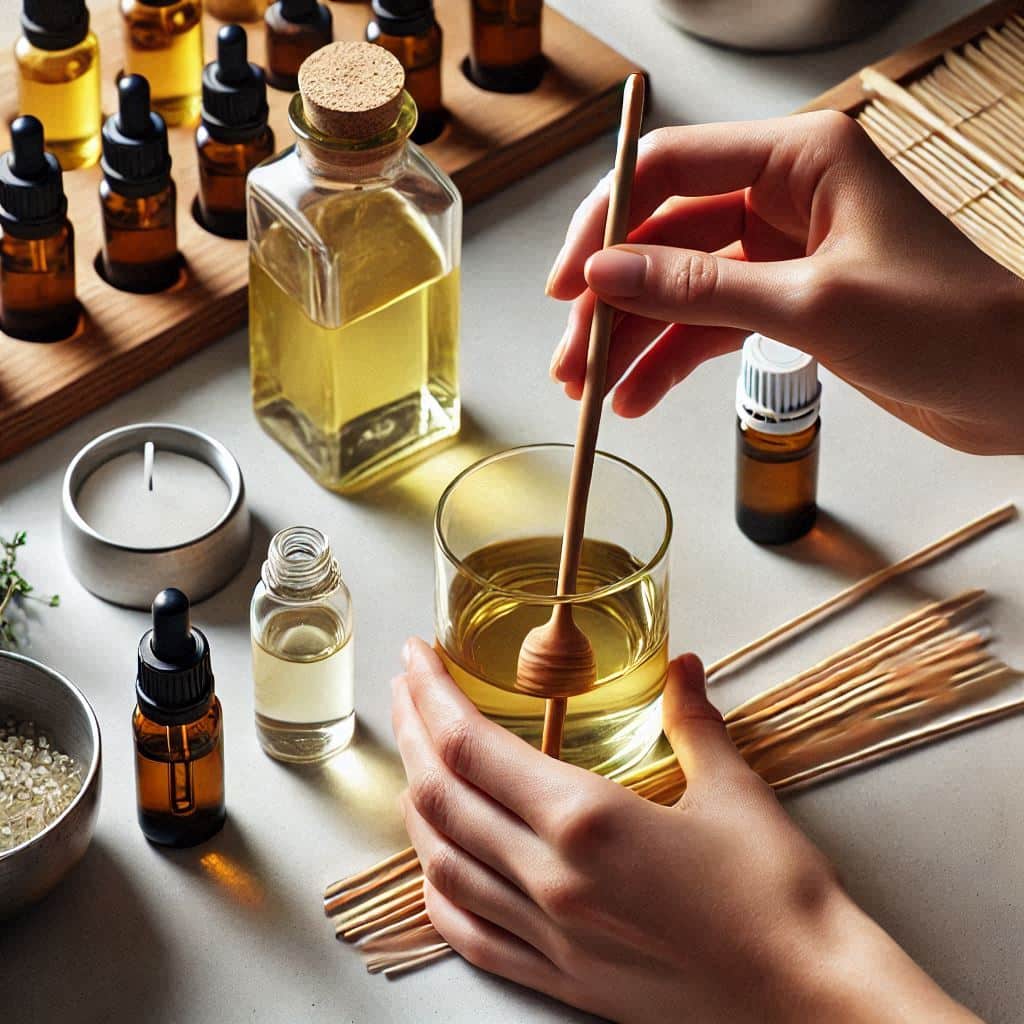
Creating a DIY reed diffuser is incredibly straightforward when you have the right materials. To start, gather the following items:
Essential Materials for Your DIY Reed Diffuser Project
Creating a DIY reed diffuser is incredibly straightforward when you have the right materials. Here’s what you’ll need:
- A glass bottle with a narrow opening – Helps slow evaporation and ensures a long-lasting fragrance. Opt for bottles with a sturdy base to prevent tipping.
- Reed sticks (rattan or bamboo) – Rattan sticks are more effective as they have tiny channels that allow the oil to travel up efficiently. Bamboo sticks require more frequent flipping and may not distribute fragrance as evenly.
- Essential oils – High-quality oils work best since synthetic fragrance oils may not diffuse as effectively. Consider pure essential oils for a cleaner scent experience.
- Carrier oil – Almond oil or fractionated coconut oil helps dilute the essential oils and slows evaporation. Other options include safflower or mineral oil.
- Alcohol (vodka or rubbing alcohol) – Thins the oil, making it easier to travel up the reeds. A higher alcohol content ensures better diffusion.
Choosing the Right Bottle for Your DIY Reed Diffuser
The bottle you choose impacts how well your diffuser works. Selecting the correct one ensures both functionality and aesthetics:
- Narrow-neck bottles – Slow down evaporation, preserving the scent for longer. These are ideal for a more consistent fragrance release.
- Clear glass bottles – Showcase your oil blend and allow for decorative elements like dried flowers, citrus peels, or herbs to enhance the aesthetic appeal.
- Dark or opaque bottles – Protect essential oils from light, keeping them potent over time. Ideal for preserving citrus and floral essential oils that degrade quickly in sunlight.
Additional Considerations
- Repurpose old perfume bottles or vintage glassware for a unique look.
- Choose bottles with a stable base to prevent spills.
- Avoid overly wide-mouthed containers, as they allow fragrance to escape too quickly.
Reed Stick Selection: What Works Best for Your DIY Reed Diffuser?
Choosing the right reeds is essential for effective diffusion. The material, size, and quantity all influence how well your reed diffuser performs:
- Rattan reeds – Best for a strong scent throw due to their capillary-like channels that absorb and distribute fragrance effectively.
- Bamboo sticks – A more eco-friendly alternative but don’t absorb oil as well. These require frequent flipping to maintain scent distribution.
- Stick length matters – Longer reeds work best for large rooms, while shorter ones are ideal for smaller spaces.
- Number of reeds – More reeds increase scent throw, but too many can cause the oil to evaporate too quickly. Start with 5-7 and adjust based on the room size and fragrance intensity.
Top Tips for Crafting the Perfect Reed Diffuser
Making a reed diffuser is as much about technique as it is about materials. Follow these tips to ensure your diffuser works perfectly from day one.
How to Mix Essential and Carrier Oils for Your DIY Reed Diffuser
A good ratio is critical. Start with 20-25 drops of essential oil for every 1/4 cup of carrier oil. For a stronger scent, you can increase the essential oil slightly. Mix these in your chosen bottle and stir gently to combine.
Adjusting Reed Sticks for Maximum Fragrance in Your DIY Reed Diffuser
Flip your reeds every few days to refresh the scent. If you notice the fragrance is too faint, consider adding a few more drops of essential oil to the mixture or replacing the reeds if they become saturated.
Troubleshooting Common Reed Diffuser Issues
If your diffuser isn’t working effectively, check these potential problems:
- Clogged reeds: Replace them if they’ve absorbed too much oil.
- Low oil levels: Refill your diffuser as needed to maintain consistent fragrance.
- Poor oil quality: Ensure your essential oils are pure and not diluted with synthetic additives.
Best Scent Combinations for Every Mood
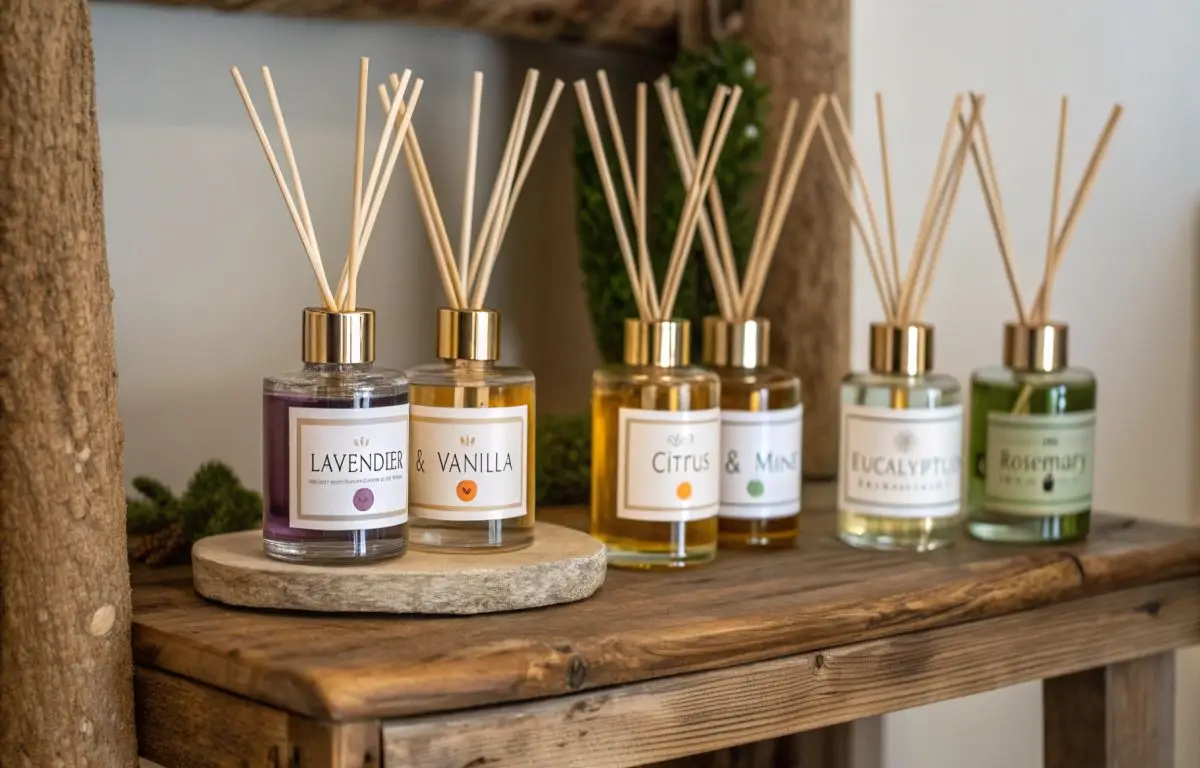
One of the best parts of making a DIY reed diffuser is the ability to customize scents for specific moods. Here are some tried-and-true blends:
- For relaxation – Lavender and vanilla create a calming and cozy atmosphere, perfect for bedrooms or relaxation spaces. Adding a touch of chamomile enhances the effect.
- For energy – Citrus and mint (orange, lemon, and peppermint) provide a fresh and invigorating scent, ideal for workspaces or kitchens. A hint of grapefruit can add a zesty boost.
- For focus – Eucalyptus and rosemary enhance mental clarity and deep breathing, making them perfect for home offices or study areas. Consider adding spearmint for extra sharpness.
- For a cozy ambiance – Cinnamon, clove, and nutmeg offer a warm, comforting scent that’s ideal for colder months.
- For a spa-like feel – Bergamot, tea tree, and sandalwood evoke a soothing, luxurious atmosphere.
How to Customize Your Reed Diffuser for Gifting

A DIY reed diffuser makes a thoughtful and personalized gift. To enhance the presentation, try these ideas:
- Decorate the bottle – Paint or etch designs onto the bottle for a custom touch. Use glass markers or adhesive vinyl for a creative finish.
- Add a handwritten label – Include the scent name and usage instructions. A small, elegant tag adds a charming touch.
- Select the right scent blend – Consider the recipient’s preferences, such as lavender for relaxation or citrus for freshness. Matching the scent to their personality makes it even more special.
- Create a gift set – Package the diffuser in a decorative box with shredded paper and a small card explaining the scent blend and usage. You can also include a set of extra reeds for future use.
- Personalize with embellishments – Tie a piece of twine or ribbon around the bottle’s neck, add dried flowers, or include small decorative charms for a polished look.
With these tips and tricks, crafting your own DIY reed diffuser is both fun and rewarding. Experiment with scent combinations, get creative with bottle designs, and enjoy a naturally fragrant home that reflects your personal style!
FAQ
- What materials do I need for a DIY reed diffuser?
You’ll need a narrow glass bottle, reed sticks (rattan or bamboo), essential oils, a carrier oil, and optionally, vodka or rubbing alcohol. - How can I make the fragrance last longer?
Use a narrow-necked bottle, flip the reeds regularly, replace saturated reeds, and refill as needed. - What are some mood-boosting scent combinations?
For relaxation, try lavender and vanilla. For energy, use citrus and mint. For focus, blend eucalyptus and rosemary. - How do I make my diffuser eco-friendly?
Repurpose glass jars, choose organic oils, and dispose of used reeds responsibly. - Can I customize a reed diffuser as a gift?
Yes, decorate the bottle, choose a personalized scent, and package it in a decorative box with a handwritten label.