
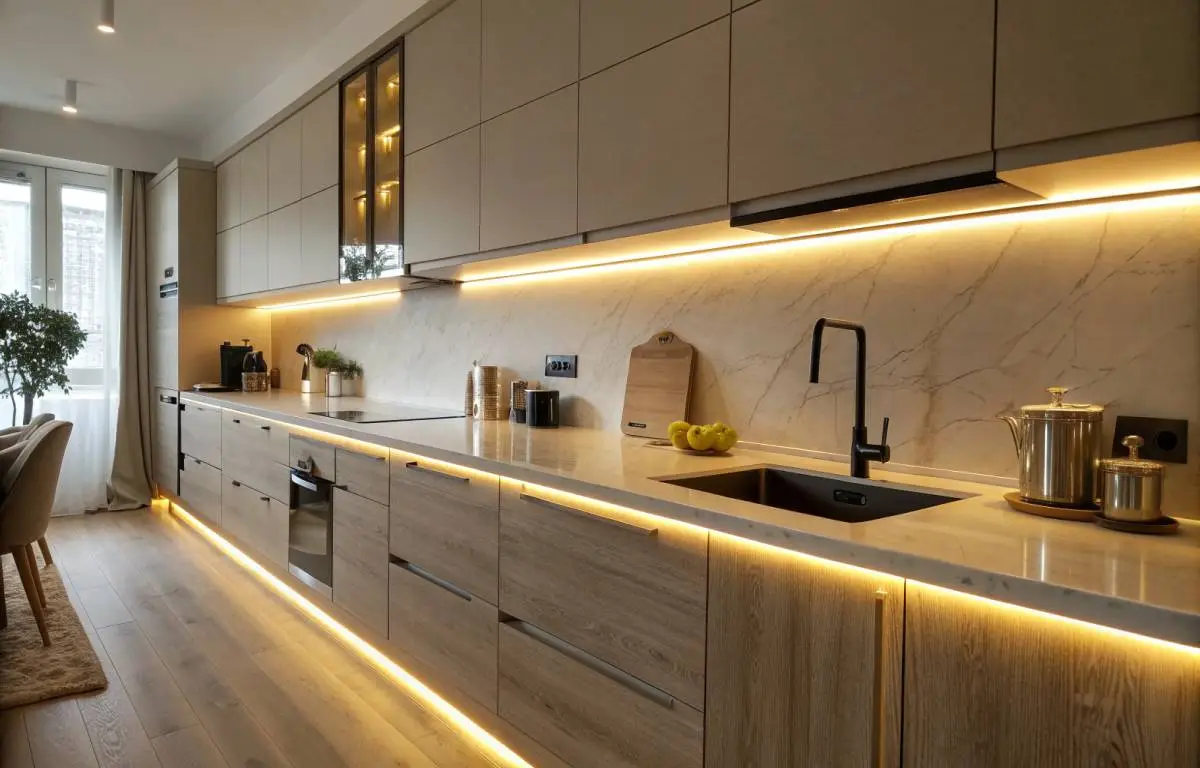
The first time I flipped the switch on under-cabinet LED strips in my own kitchen, I actually laughed out loud. The whole room went from “fluorescent hospital vibe” to “come-in-and-stay-awhile” in about three seconds. Suddenly chopping onions at 9 p.m. didn’t feel like a chore; it felt cozy. That soft, even wash of warm light made the counters look cleaner, the backsplash pop, and honestly the entire kitchen felt bigger. Ever since, I’ve been a little obsessed with helping friends (and myself) add this quiet magic wherever possible. If your kitchen feels flat or harsh at night, these LED Strip Lights for Kitchen Cabinets are the upgrade you didn’t know you needed.
Materials You’ll Actually Use
- LED strip lights – I always go warm white (2700K–3000K) for that buttery, welcoming feel
- Matching power supply / LED driver (check the wattage chart so you don’t fry anything)
- 3M adhesive strips or aluminum channel + diffuser (trust me on the diffuser)
- Measuring tape, pencil, scissors, rubbing alcohol + microfiber cloth
- Wire connectors or solderless clips for corners and jumps
- Optional but life-changing: dimmer switch, motion sensor, or smart plug
Pro move I wish someone had told me sooner: spend the extra on strips that say “CRI 90+”. The colors of your food (and your backsplash) will look a million times truer.
Step-by-Step Installation (I’ve Done This Ten Times, Here’s What Actually Works)
- Measure Twice, Order Once
Run the tape along the exact path under every cabinet. Add 10 % extra length because corners eat wire faster than you think. - Pick Your Placement Sweet Spot
I like mine recessed about 1–2 inches back from the cabinet edge. It hides the dots, kills glare on glossy counters, and still lights the whole workspace. Front-edge placement looks great in photos but can blind you while cooking. - Deep-Clean the Surface
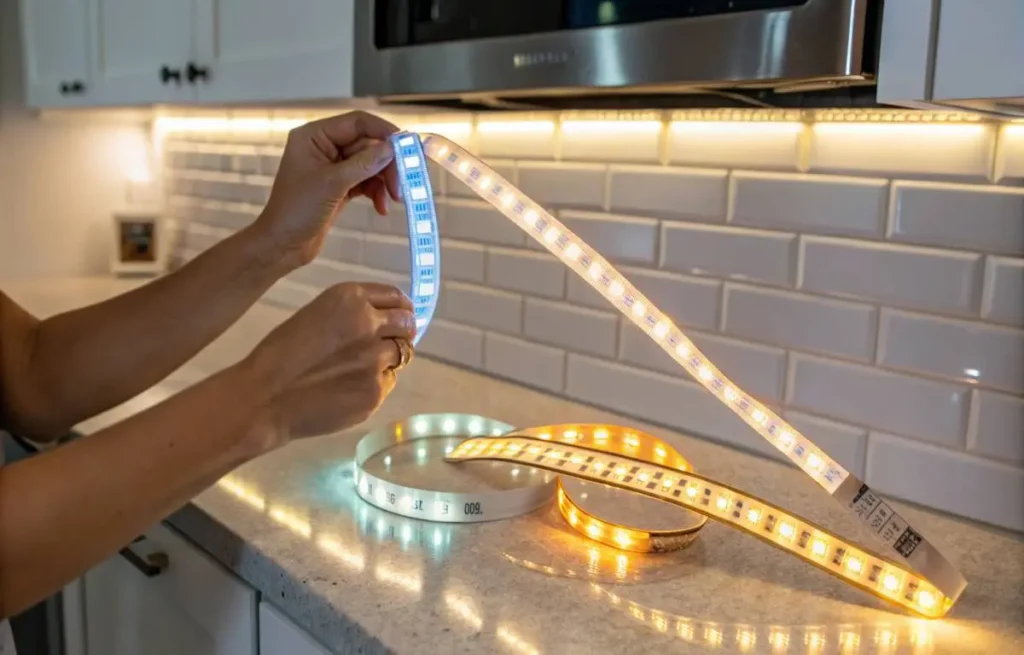
Wipe with rubbing alcohol and let it fully dry. Grease is the #1 reason strips fall after a few months. I learned that the hard way in my first apartment. - Cut Only Where the Little Scissor Icons Are
Every quality strip has copper pads with scissor marks. Cut anywhere else and you’ve got a dead section. - Stick or Channel?
For a quick weekend job → 3M backing is fine.
For forever results → aluminum channel + frosted diffuser. It looks pro, spreads light evenly, and protects the strip from steam and splatters. - Corners & Gaps
Use cheap L-shaped connectors or foldable strips. I keep a pack of solderless corner clips in my toolbox now; they save so much swearing. - Wire It Up
Plug the strip into the driver, then the driver into the wall (or a switched outlet). Hide the driver inside a cabinet or behind the backsplash if you’re tidy like that. - Test Before You Commit
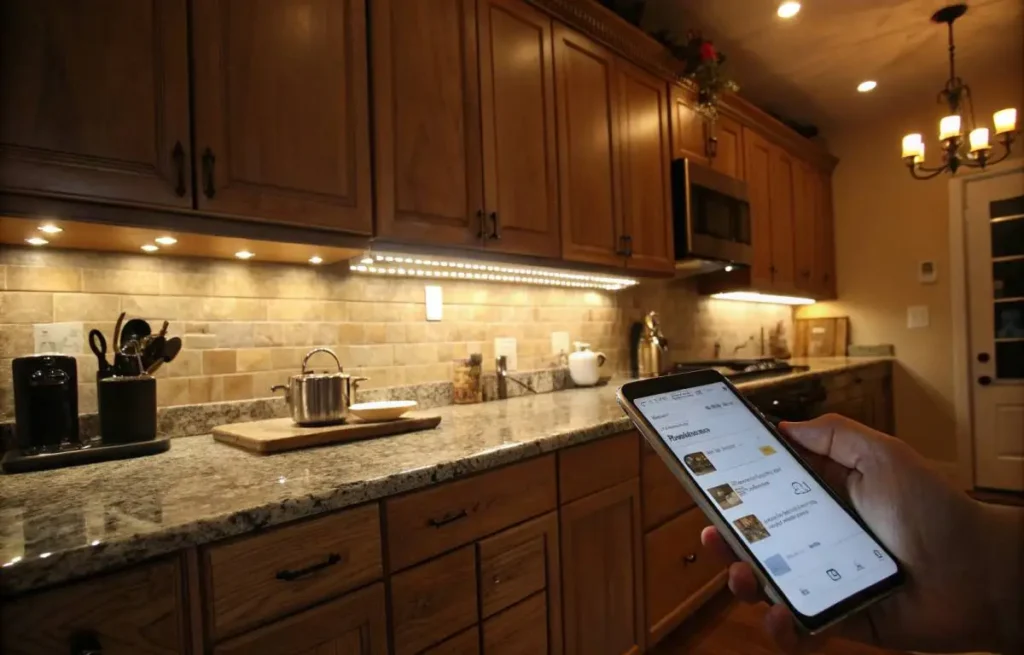
Turn everything on while it’s still loose. Adjust brightness and angle now, not after everything’s stuck forever. - Add the Magic (Optional but Worth It)
- Plug into a smart plug → “Alexa, kitchen glow 30 %”
- Motion sensor → lights greet you when you walk in for water at 2 a.m.
- Dimmer knob → instant date-night ambiance
My Favorite Pro Tips (The Ones I Tell Everyone)
- Warm white forever. Cool white makes your kitchen look like a dentist’s office.
- Diffuser channels are non-negotiable if you have shiny countertops.
- Run separate zones for the sink area vs. the island so you’re not lighting the whole room when you just want a midnight snack.
- If you cook a lot of Asian or Italian food, the steam rises—mount the strips a little higher or use waterproof-rated ones.
- Lumens matter: 350–450 per foot is perfect for task + mood. Less feels dim, more feels like interrogation.
Fun Ways to Customize the Glow
- RGB strips for holidays (red & green at Christmas, orange in October, soft pink when the mood strikes)
- Highlight open shelving so your pretty bowls actually get noticed
- Put a short strip inside glass-front cabinets for a floating-dishes effect
- Sync with Philips Hue or Govee and change the whole vibe from your phone while cooking
A friend added a motion-activated strip under her kickboards too—now the floor glows softly when the kids sneak downstairs for cookies. Ridiculously cute.
People Also Tried
Painting Kitchen Cabinets: Tips For A Smooth, Professional Finish
Kitchen Shelf Decor You’ll Fall in Love With
5 Blue Kitchen Decor Ideas You’ll Regret Skipping
Conclusion – The Quiet Upgrade That Changes Everything
LED Strip Lights for Kitchen Cabinets are one of those rare projects that cost little, take an afternoon, and make you love your home more every single day. They turn cooking, cleaning, and late-night tea into something calmer and prettier. I’ve installed them in my mom’s kitchen last year and she still texts me photos saying “look how nice it looks tonight!”
If you’ve been putting this off, just start with one small section. You’ll be ordering more strips before the kettle boils.
Drop a comment and tell me—did you go warm white or get wild with color-changing? Motion sensor or dimmer? I read every single one and love seeing your versions come to life!
FAQs
Q: Can a total beginner do this?
A: 100 %. If you can use scissors and peel stickers, you’re golden.
Q: Will the adhesive really hold long-term?
A: On a clean, dry surface—yes, for years. Grease or humidity? Use clips or channel.
Q: How much does a full kitchen cost?
A: Decent setup for an average kitchen runs $60–$150 depending on length and extras.
Q: Do they get hot?
A: Barely warm to the touch. Safe around wood and little hands.
Q: Can I cut them shorter later?
A: Yes, just snip at the marked lines. Unused pieces work great in drawers or closets.
Ready for your own calm, inviting glow? Grab the strips and let’s make that kitchen feel like the heart of the home again.