
Tissue paper flowers aren’t just pretty decor—they’ve got this knack for making any space feel warm and full of heart. I made a batch for a friend’s party last weekend, and they were such a hit, I’m still grinning about it. Whether you’re new to crafting or a total pro, these flowers are super easy to whip up and add a personal touch to your home or events. This guide’s got you covered with all the basics—supplies, steps, even the mistakes I made so you don’t have to. Get ready to turn some tissue paper into blooms that’ll steal the show, even if they’re a bit crinkly!
Why Tissue Paper Flowers Are a Meaningful Craft
Handmade tissue paper flowers have this soft, quiet charm that store-bought ones just can’t touch. Those real bouquets? Gone in a week. But these? They’re like little bits of your heart, folded up with time and care. I made some for a friend’s memorial last month, and even my messy folds felt like they said something words couldn’t. Whether it’s for a birthday, a quiet “I care” moment, or anything else, these fragile blooms carry big feelings, even if they’re a tad crumpled.
That might sound sentimental, but think about it. A tissue paper flower doesn’t bloom by accident. You pick the colors., fold each petal. You spend time shaping something fragile into something expressive. And because they’re handmade, they can reflect the giver just as much as the gesture. That’s part of why tissue paper flowers are often used at weddings, funerals, anniversaries, and even school projects — they mean more than meets the eye.
According to a survey by Craft Industry Alliance, almost half of crafters—48%, say they make floral decor to pour out their feelings, not just to pretty up a room. That hits home. When you give someone a tissue paper flower you made, it’s not just a decoration—it’s your time, your color choices, your whole creative spark wrapped up in it. I gave one to my mom once, and I’m no artist, but it meant something. You don’t need to be Picasso for this; it’s all about the heart you put in. Even the simplest folds can turn into something beautiful, and that’s the quiet magic of this craft, you know?
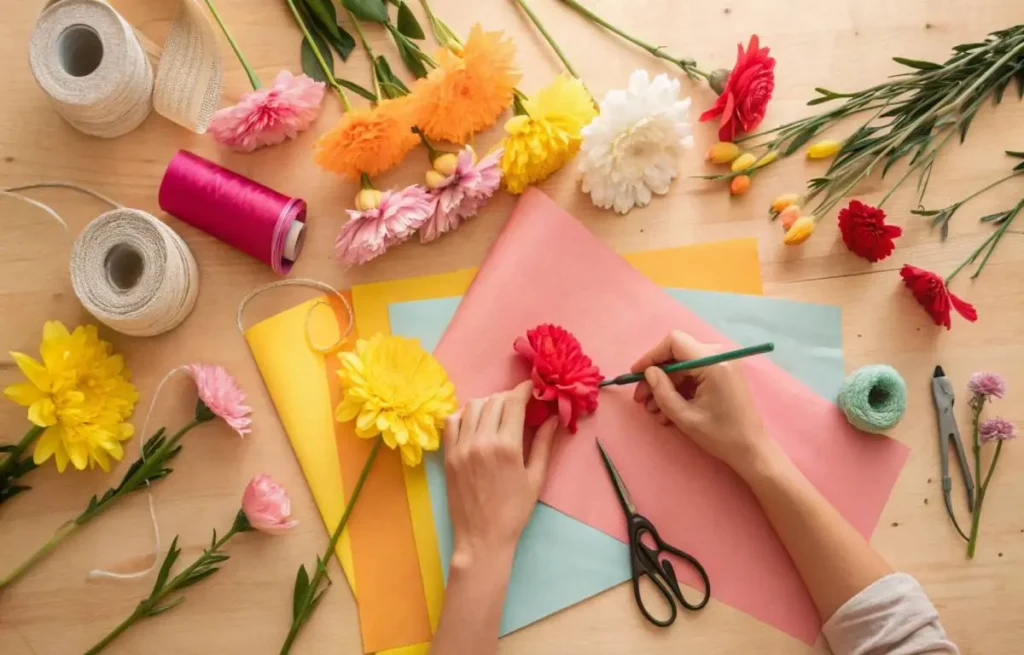
Supplies You’ll Need for Tissue Paper Flowers
You don’t need a fancy setup or a ton of cash to make tissue paper flowers—half the stuff’s probably in your junk drawer already. But, fair warning, the tissue paper you pick makes a big difference in how your flowers turn out, from their fluff to their color pop.
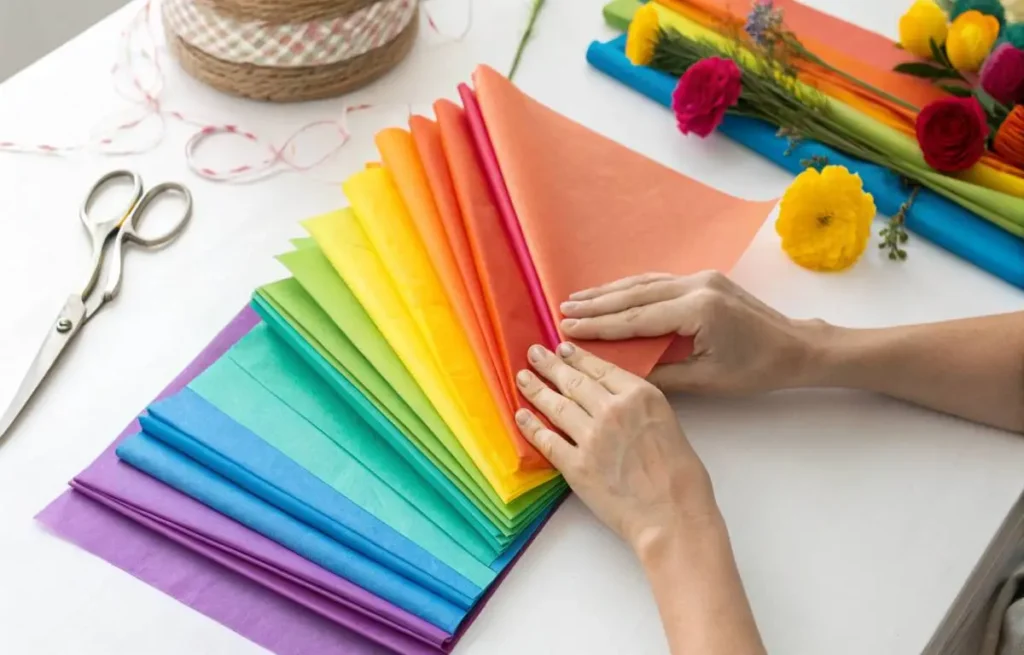
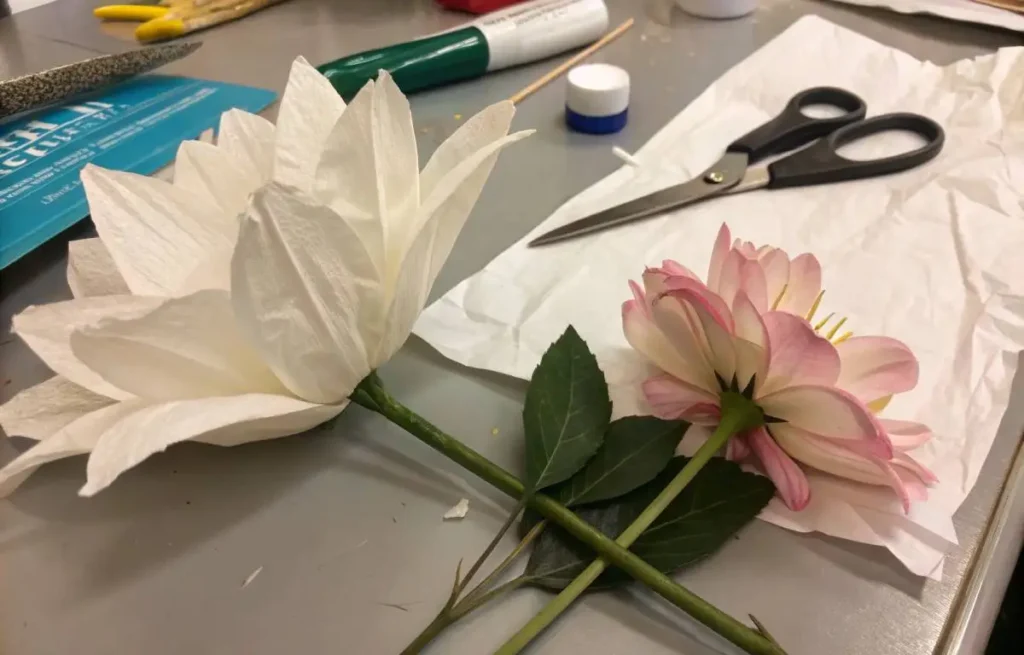
Choosing the Right Tissue Paper for Flowers
Not all tissue paper’s created equal. The stuff you wrap gifts with works okay, but it’s flimsy and rips if you sneeze. I learned that the hard way when my first flower fell apart mid-fold. Go for premium craft tissue—it’s sturdier and comes in bold, fade-proof colors. Some folks use bleeding art tissue for cool watercolor vibes, which I wanna try next. Skip glossy or waxed tissue; it’s a pain to shape and won’t hold. For that real flower look, soft matte tissue in colors like blush, cream, or lavender is my go-to—makes ‘em look almost too pretty for paper.
Basic tools for crafting tissue paper flowers
You’ll need:
- Tissue paper sheets (8–10 per flower is a good starting point)
- Floral wire (22- or 24-gauge works well)
- Scissors
- Wire cutters (for trimming stems)
- Glue (optional for added petals or embellishments)
Some crafters use pipe cleaners for stems or twist ties for quick folds. You don’t have to spend much, but don’t skip the wire, it gives your flowers structure.
Optional extras to enhance tissue paper flowers
Want to make your flowers pop? Try:
- Markers or pastels to edge petals
- Glitter or pearlescent spray for shimmer
- Buttons, beads, or pom-poms as flower centers
- Green floral tape to wrap stems
These aren’t essential, but they do let you push beyond a basic bloom. If you’re gifting or decorating for events, that little bit of extra polish makes a difference.
Step-by-Step Guide to Making Tissue Paper Flowers
This is where the fun really kicks in. Making tissue paper flowers is all about turning a few simple supplies into something that looks amazing and feels straight from the heart. I got into this last week and botched my first try, but even that was kinda fun. This method’s great for newbies, with tons of ways to tweak it. Start with the basics to get the hang of it, then go wild with different petal shapes, sizes, or colors to make flowers that scream you. It’s like a little crafty magic trick, and you’ll be shocked at how cool they turn out.
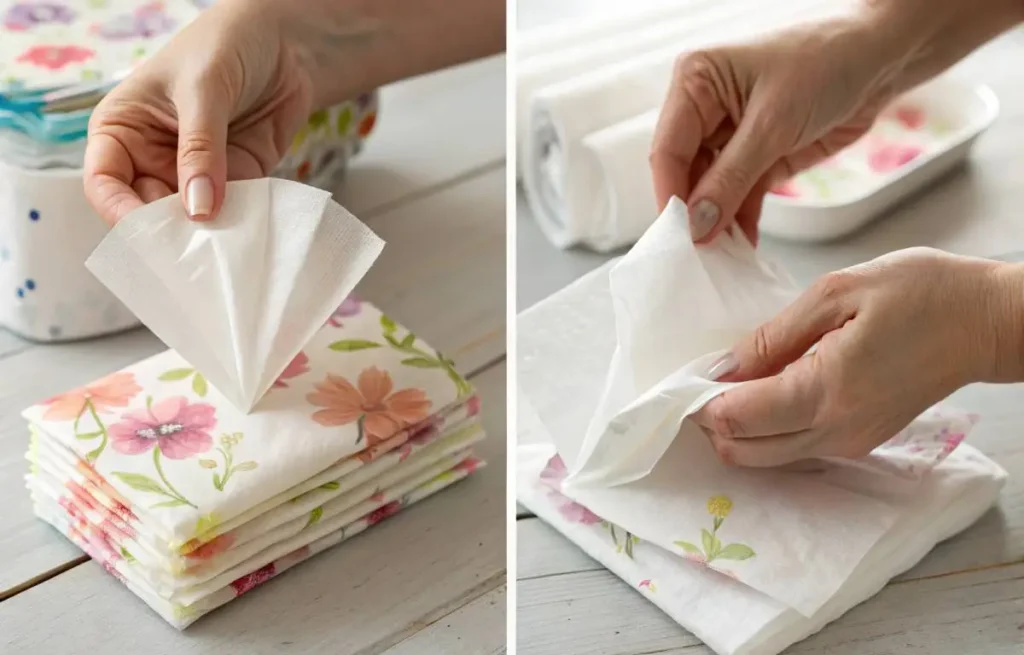
Preparing Tissue Paper Layers for Flowers
First up, grab 8 to 10 tissue paper sheets—10 by 15 inches is my go-to size since it’s not too dinky or huge. Stack ‘em neat; I learned the hard way that sloppy stacks mean wonky petals. More sheets make a fluffier flower, but go overboard, and you’ll be wrestling to separate them later. Balance is everything. Make sure the sheets line up perfectly—any slip-ups show in the petals. Thin tissue is easier to fluff but tears if you blink, while thicker stuff holds shape but can be a pain to pull apart. Now, fold the stack like a paper fan, about 1-inch folds, keeping it even for a tidy look. My first try was all over the place, but honestly, a little wobble adds charm. Then, trim the ends to shape your petals—semicircles for soft, round vibes or pointy scallops for a bold, daisy-like kick. I tried points once and got a total drama-queen flower. Those cuts really set the mood, so play around ‘til it feels right.
Folding and Shaping Tissue Paper Flowers
Now that your tissue paper’s folded and trimmed, it’s time to turn it into a real flower. Grab some floral wire—about 12 inches does the trick—and wrap it around the middle of the stack, twisting it tight. That twist is your stem and keeps all those flimsy layers together; it’s bendy but tough, so you can shape it later. Here’s where you gotta chill and go slow. Gently pull each tissue layer up toward the center, one at a time—trust me, rushing rips it, and I’ve torn way too many petals in my day. A little tear isn’t the end of the world; it can make it look more real. As you lift, the flower starts blooming in your hands, which is honestly kinda cool. Tweak the petals with your fingers, fluffing or curving them to add some life. Don’t sweat it if they’re not perfect—my best flowers are always a bit lopsided, and that wonky vibe makes ‘em look less like they came off a factory line.
Finishing Touches for Tissue Paper Flowers
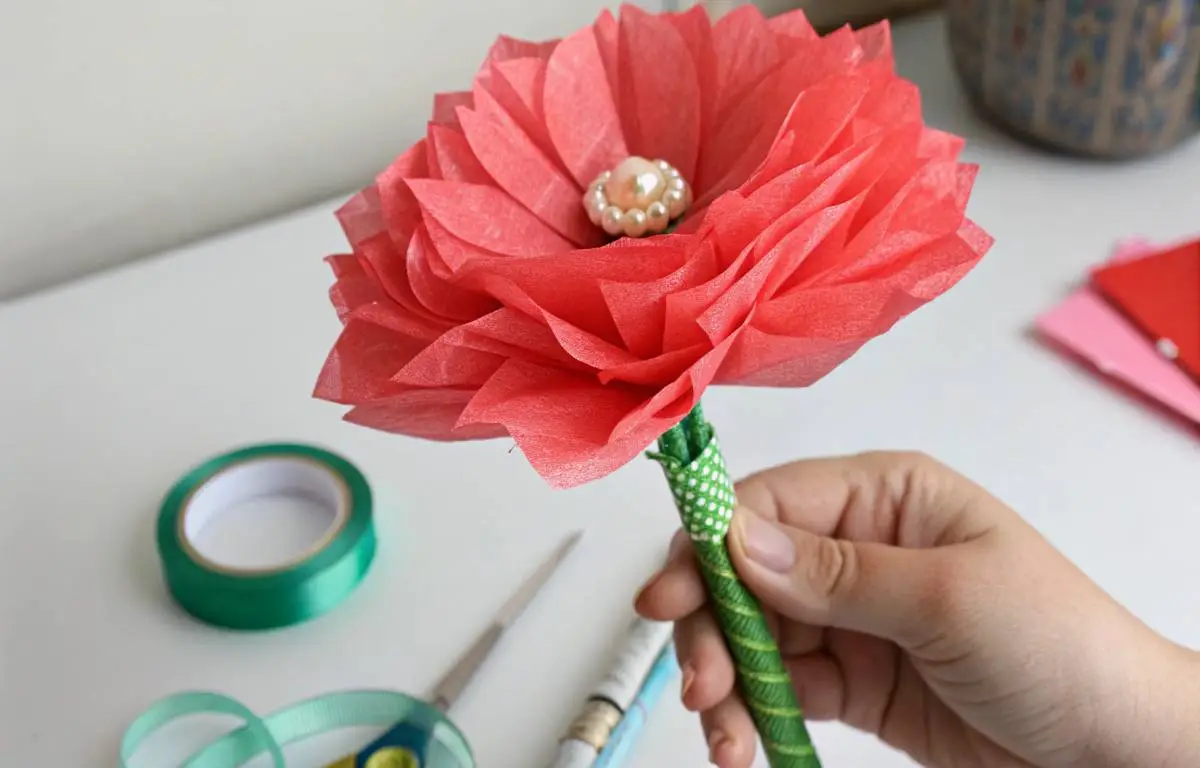
Once your flower’s all fluffed up and looking good, it’s time to add those final touches that make it feel like a real treasure. Start by wrapping the floral wire stem with green floral tape—it hides the wire and gives it a legit stem vibe. I stretched the tape too far once and it snapped, so go firm but not crazy. For a fun twist, glue something cute in the flower’s center, like a shiny sequin, a button, or even a tiny felt dot. I stuck a pearl on one for my friend’s wedding decor, and it was almost too fancy. It adds a little sparkle or pop of color that catches the eye. If you’re not into stems, skip the wire and tie on some clear fishing line or twine for hanging. I did this for a party garland, and they floated like little dreamy clouds—perfect for a cozy corner or a big bash.
Common Mistakes to Avoid with Tissue Paper Flowers
Even simple crafts have their trouble spots. Tissue paper is delicate and can be frustrating if you don’t know where beginners tend to go wrong.
Overhandling the paper
Biggest mistake ever—fussing too much with the petals while fluffing. I got all perfectionist once, and my flower ended up torn and sad. Craftsy’s tutorial says to use a light touch and shape each layer just once. Let the paper do its thing.
Using crummy paper
Cheap or old tissue paper is a nightmare—it rips or flops when you fluff. I learned this when my first flower collapsed mid-craft. Martha Stewart Living claims good craft tissue holds up 40% better than gift-wrap stuff, and it’s not even that pricey.
Skipping support
Some tutorials say just tape the bottom, no wire. Fine for tiny flowers, but big ones sag like a bad hair day. I tried it and regretted it. Even for glued flowers, sneak in a cardboard disc or pipe cleaner for a solid base—it’s like a spine for your bloom.
Creative Ways to Use Tissue Paper Flowers at Home
Once you’ve nailed the basic tissue paper flower, it’s like unlocking a whole toolbox of decorating tricks. I made some for my cousin’s baby shower, and they stole the show—works for anything from kids’ rooms to fancy receptions.
Decorating with Tissue Paper Flowers for Events
These flowers are a total win for weddings, showers, or birthdays. They’re bright, cheap, and super easy to match to any theme. Big ones—say 10–12 inches—make awesome photo booth backdrops or centerpieces. String smaller ones into garlands or sprinkle ‘em on tables. I saw a dessert table with these, and it was almost too cute. The Event Planners Association says handmade decor like this can slash venue styling costs by 60%, especially for big spaces.
Displaying Tissue Paper Flowers as Centerpieces
Forget boring vases. A shallow bowl of pastel blooms on a coffee table looks so good, I keep one out all the time. Stick some on twigs for a fake blossoming branch, or lay them out as a floral runner on your dining table—no water needed. Mixing them with real greenery? Go for it, just keep the colors in sync. I tried tissue peonies with some leaves, and it looked fuller without being a hassle.
Gifting Tissue Paper Flowers with Handwritten Notes
This one’s my favorite. There’s something so sweet about giving a single paper flower with a little handwritten note. I taped one to a gift for my friend, and she still has it. It lasts way longer than real flowers and feels so personal. Slip one in a book or use it as a place card with a name tag. Psychology Today says handmade gifts feel 33% more meaningful ‘cause they show you actually put in the work.
Conclusion
Tissue paper flowers are this perfect mix of simple and soulful, showing you don’t need fancy stuff to make something that hits deep. I was folding some last night, and even my wonky ones felt like little hugs in paper form. Once you get the techniques down and dodge the usual mistakes, you’re crafting blooms that say “I care” without saying a word. Whether they’re sprucing up your place, stealing the show at a party, or tucked into a gift, these flowers last way longer than real ones and carry so much heart. So slow down, have fun with it, and watch how a bit of tissue paper turns everyday moments into something you won’t forget.
People Also Read
Paper Flowers Made Easy: Stunning DIY Decorations
Painted Mason Jars You’ll Regret Not Making
FAQs
What materials do I need to make tissue paper flowers?
You need tissue paper sheets, scissors, floral wire or pipe cleaners, and floral tape or glue.
How many layers of tissue paper should I use?
Using 8 to 10 layers creates a full, fluffy flower, but you can adjust based on desired thickness.
Can tissue paper flowers be reused?
Yes, if handled carefully, they can last for months and be stored away from moisture and sunlight.
What are common mistakes when making tissue paper flowers?
Tearing the paper while fluffing and using too few layers are frequent issues to avoid.
How do I make tissue paper flowers last longer?
Keep them dry, avoid direct sunlight, and store them in a dust-free area to maintain shape and color.