
Thinking about giving your kitchen a fresh new look? Painting your cabinets is one of the easiest and most budget-friendly ways to totally transform the space. But if you want that smooth, professional-looking finish, a little prep work and the right technique go a long way. Whether you’re a DIY pro or trying this for the first time, these tips will help you get it right—and leave you with beautiful cabinets that hold up over time.
1. Choosing the Right Paint for Kitchen Cabinets
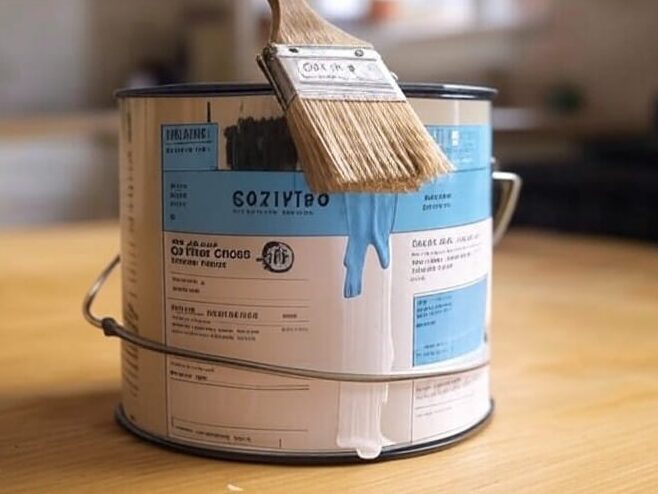
The paint you choose isn’t just about color—it’s the foundation of how your kitchen cabinets are going to look and last. It’s what decides whether your finish still looks good next year or starts chipping before summer ends. So yeah, this part’s worth slowing down for.
How to Choose the Best Paint for Kitchen Cabinets
Here’s the truth: not all paint is created equal. Some are fine for walls but just can’t handle what cabinets go through—greasy hands, constant wiping, heat, moisture, even the occasional splash of pasta sauce.
For cabinets, look for a high-quality paint that’s made for tough jobs. You’ll want something that specifically says “cabinet” or “kitchen” on the label. These are usually formulated to handle frequent cleaning, humidity, and the general chaos of daily cooking.
Oil-based paint has long been the pro’s favorite—it dries hard and smooth and holds up beautifully over time. But it has a strong smell, takes longer to dry, and cleanup is a hassle unless you’re into mineral spirits. That’s why many DIYers now lean toward hybrid or water-based paints. They’ve come a long way, and good ones can still give you a durable finish without the fumes.
Little tip: Before locking in a color, try painting a large sample board or even the inside of one cabinet door. The lighting in kitchens can play tricks, and a shade that looks soft and creamy in the store might read as yellow or dull grey under your overhead lights.
Satin vs. Semi-Gloss: What You Really Need to Know
Once you’ve got the paint type sorted, you’re not done yet. The finish matters just as much. And no, matte isn’t a great idea here—trust me, you’ll regret it the first time spaghetti sauce splashes.
Satin and semi-gloss are the two real contenders for cabinets. Satin has a more subtle look, almost velvety, and it works well in more traditional or farmhouse-style kitchens. It hides imperfections a little better too, which is helpful if your cabinet doors have a few dings.
But if your kitchen gets a lot of action—or you’re just honest with yourself about the likelihood of fingerprints and messes—semi-gloss is the more practical option. It’s shinier, yes, but that extra sheen makes it easier to wipe clean and more resistant to stains, steam, and splatters. It also reflects light, which can make the whole kitchen feel brighter and newer.
Bottom line? If you love a softer, low-key finish and don’t mind doing a little more cleaning, go with satin. If you want something that works hard and still looks polished, semi-gloss is probably your best bet.
2. Preparing Your Cabinets for a Flawless Finish
Here’s the truth—if you skip prep, your cabinet paint job will disappoint you. Flaking paint, weird textures, bad adhesion… all of it comes back to poor prep. So before you even think about picking up a brush, let’s walk through the must-do steps that actually set you up for a smooth, durable finish.
How to Prep Kitchen Cabinets the Right Way
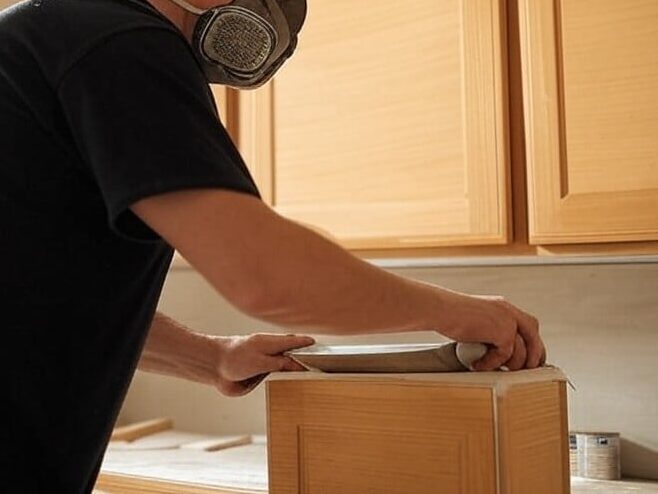
Start by removing all the hardware—yep, handles, knobs, even the hinges if you can. It might seem like a hassle, but painting around them just leads to uneven edges and dried-on drips. Take a few minutes now and label your parts in zip bags so reassembly isn’t a nightmare later.
Next, clean the heck out of your cabinets. Use a degreaser or a mix of warm water and dish soap. Even if your cabinets look clean, they’re probably coated in invisible kitchen grime—grease, smoke, oils—that will keep paint from sticking properly.
Now comes sanding. No need to go full power-sander mode; just grab a fine 220-grit sandpaper and give the surfaces a light but thorough scuff. Focus on areas that look glossy or worn. Then wipe everything down with a tack cloth to pick up all that fine dust you just created.
Why You Should Always Prime Cabinets—No Exceptions
Here’s the thing: primer isn’t optional. It’s what gives your paint something to grip onto, especially if your cabinets are laminate, glossy, or have any stains or dark colors. Skipping primer can lead to peeling or patchy spots—and trust me, fixing that later is way more annoying than just doing it right the first time.
Go with a high-quality bonding primer designed for cabinets. It’s specifically made to stick to slick surfaces and helps your topcoat stay put, even with daily use and scrubbing.
Bonus Tip: If you’re painting over old oak or another wood with heavy grain, primer also helps hide those deep grooves. You’ll get a cleaner, more modern finish that doesn’t scream “I used to be orange oak.”
3. Techniques for Achieving a Smooth, Professional Look
Time to Paint: Avoid Streaks, Blobs & Regrets
Once your cabinets are fully prepped (no shortcuts!), it’s finally time for the fun part—paint. But this is where things can go sideways real fast if you don’t use the right technique. You want a clean, pro-looking finish… not streaks, drips, or that obvious DIY look.
Let’s talk about how to make it smooth.
How to Paint Cabinets Without Leaving Streaks or Brush Marks
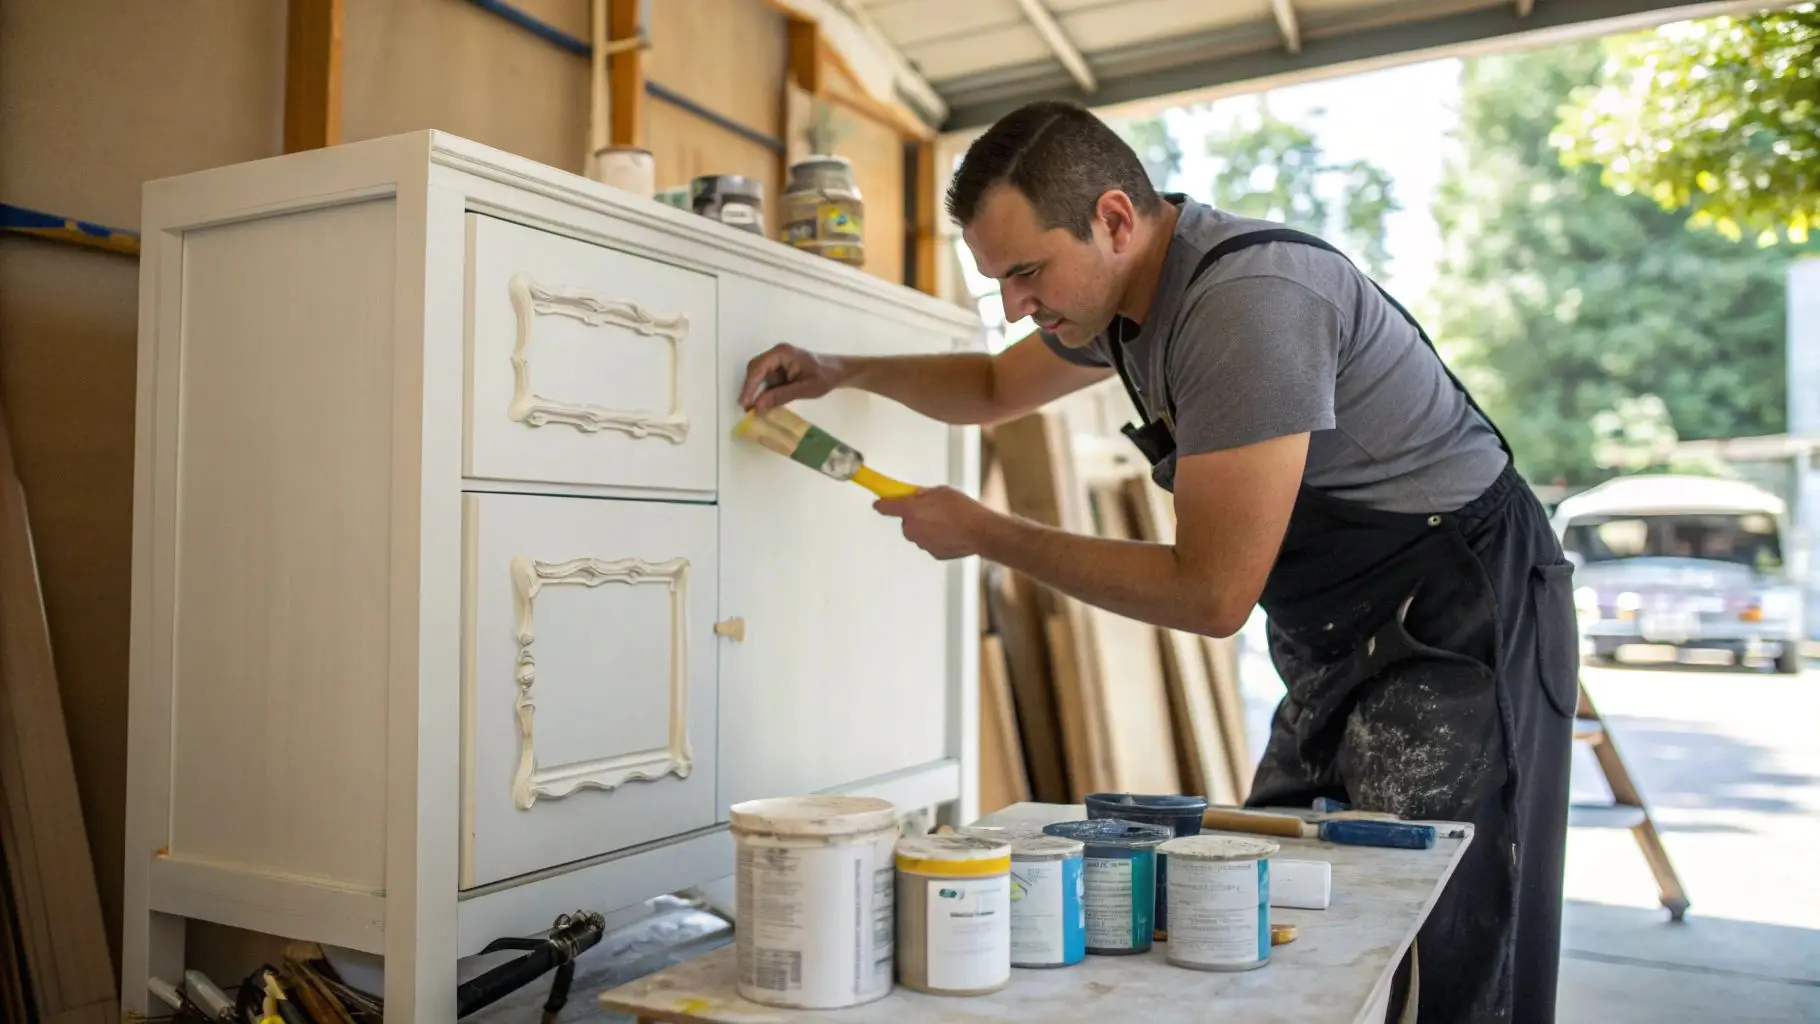
If you’re using a brush, go with a high-quality synthetic bristle brush that matches your paint type (latex or oil-based). And don’t slop it on—dip just the tip into the paint and knock off the excess. That little change keeps you from overloading the brush and getting those annoying drips.
Now here’s the key: thin coats only. Seriously. Resist the urge to glob it on. Use long, even strokes, and follow the direction of the wood grain. That’s what gives you that clean, streak-free look. Always work in one direction and don’t go back over spots you already painted—once it starts drying, touching it again just makes a mess.
Let the coat dry completely before the next one. And don’t rush it. If you’re not sure it’s dry, lightly touch a hidden spot. Still tacky? Wait.
Should You Use a Paint Sprayer? (Spoiler: It’s Worth It If You Can)
Want that perfectly smooth, no-brush-marks finish? A paint sprayer can give you a professional look that’s nearly impossible to get with a brush or roller. It’s especially handy for large cabinet doors or cabinets with lots of grooves and trim.
But heads up—it’s not as easy as just pulling the trigger. You’ll need to mask off the entire area (hello, plastic sheets and painter’s tape) and be ready for a bit of a learning curve. Overspray is a thing. So is accidentally blasting one spot too much and getting drips.
Tip: Never spray your cabinets for the first time without practicing. Grab a piece of cardboard or scrap wood and test your spray distance and speed. Once you get the hang of it, the finish is so worth it.
4. Common Mistakes to Avoid When Painting Kitchen Cabinets
Painting kitchen cabinets sounds simple enough — and honestly, it can be — but only if you avoid the traps that most DIYers fall into. Let’s talk about what not to do if you want a finish that actually holds up.
Avoiding the Most Common Cabinet Painting Mistakes
The biggest mistake people make? Slathering on thick coats of paint like it’s a race. Thick paint doesn’t dry evenly, and more often than not, you’ll end up with drips, streaks, or that weird gummy texture. It’s tempting to speed things up, but rushing only guarantees you’ll be repainting again in six months. Stick to light, even coats and give each one time to dry before you go in with another.
And here’s something that often gets overlooked: humidity. If your kitchen feels sticky or damp, maybe skip the paint for the day. Moisture in the air messes with drying time and can cause bubbling or a splotchy finish.
Bonus: Slow is smooth, and smooth is fast — multiple thin coats always win over one thick, sloppy one.
Why Skipping Cabinet Prep Can Ruin Your Paint Job
It’s wild how many people dive straight into painting without touching a piece of sandpaper or degreaser. Prepping your cabinets might not be glamorous, but it’s everything. Grease, dust, and cooking residue create a barrier that paint just can’t bond with. You might not notice at first, but give it a few weeks — you’ll start seeing peeling, cracking, or patchy spots that just don’t look right.
And skipping primer? Huge mistake. Primer gives your paint something to grab onto. Without it, you’re basically just layering color onto hope.
Bottom line: don’t cut corners. Prepping your cabinets properly is the only way to get that smooth, durable finish you’re after.
5. How to Maintain Your Newly Painted Cabinets

Once your cabinets are freshly painted and looking amazing, the last thing you want is for that smooth, clean finish to start chipping away a month later. A little care goes a long way — here’s how to keep them looking brand new.
Tips for Maintaining the Professional Look of Your Painted Cabinets
Start with the basics: gentle cleaning. Wipe your cabinets down regularly using a soft cloth and a mild cleaner — even just warm water with a drop of dish soap can do the trick. Don’t reach for the abrasive scrubbers or bleach-based sprays. Those might clean fast, but they’re brutal on painted finishes and can wear down the topcoat way too soon.
Also, once you’ve wiped them, dry the surface with a soft towel. Leaving water droplets to air-dry can lead to streaks or, worse, bubbling over time — especially around the edges.
The little everyday habits? They make the biggest difference.
How to Prevent Chipping and Scratches on Your Painted Kitchen Cabinets
Now let’s talk about wear and tear. Kitchens are busy — doors open and close constantly, things bump, scrape, and slide. It’s normal. But you can definitely reduce the damage with a few simple tweaks.
If you don’t already have soft-close hinges, they’re absolutely worth adding. They keep the doors from slamming and slowly wearing down the paint around the edges. You can also stick on those tiny clear bumpers inside the doors — they’re cheap, easy to install, and they help absorb impact.
Another small tip: don’t drag things across your painted surfaces. Whether it’s a heavy dish rack or a toaster, use felt pads, trays, or coasters to create a barrier. Even small scratches add up fast in a busy kitchen.
Tip: Keep a little paint on hand for occasional touch-ups — just a dab can hide scuffs before they get worse.
People Also Read
Mud Kitchen Ideas That Bring Families Closer
FAQs
1. What kind of paint should I use on kitchen cabinets?
You don’t want to cheap out here — cabinets take a lot of daily abuse. Go for a high-quality enamel or a hybrid paint that dries hard. Oil-based used to be the gold standard, but water-based alkyds (hybrids) are way easier to clean up and almost as tough. For the finish, satin looks more subtle and hides flaws better, but semi-gloss is easier to wipe down if you cook a lot.
2. What prep work do I actually need to do?
Honestly? Prep is the real project. Take the doors off, label everything so you don’t lose track (trust me), and scrub them down — especially near the stove where grease builds up. After that, sand lightly so the primer can stick. Then yes, prime. Skipping primer is what makes cabinets chip after a few months, and you’ll regret it.
3. How do I get that smooth, professional finish?
First rule: don’t rush it. Apply light coats and let each one dry completely. A synthetic brush works, but if you want that ultra-smooth look — no streaks, no brush marks — a sprayer is unbeatable. You’ll need to mask off the area, but it’s worth it. Also, sand lightly between coats for the smoothest result.
4. What should I avoid doing?
A few things can totally ruin the job:
- Painting over grease or dirt (the paint won’t stick).
- Skipping sanding or primer.
- Laying the paint on too thick — that’s when you get runs and a tacky finish.
Also, try not to paint on super humid days. It messes with how the paint cures and can cause weird texture issues.
5. How do I keep my painted cabinets looking good?
Treat them gently for the first week or two — that’s when the paint’s curing underneath, even if it feels dry. After that, regular wipe-downs with mild soap and water will keep them looking sharp. Avoid harsh chemicals, and maybe add soft-close hardware if your doors slam a lot. The less impact, the longer they’ll stay chip-free.