
DIY large crystals are all the rage in home decor, and trust me, they’re like magic for your rooms. These dazzling pieces bring elegance and a bit of earthy glam, whether you’re zhuzhing up your living room or bedroom. I tried making one last weekend, and despite some gluey fingers, my shelf now looks like a fairy cave. Whether you’re a craft pro or just starting out, whipping up these crystals is a super fun way to create unique, sparkly decor. This guide’s got all the inspo, materials, and steps you need to make your own crystal stunners, even if your craft table’s as chaotic as mine.
Why DIY Large Crystals for Home Decor Are the Next Big Trend
Large crystals are stealing the show in home decor, and I’m here for it. They’re not just pretty rocks—they add a vibe of calm and luxury to any room. I tossed a DIY crystal on my shelf last month, and despite my glitter explosion, it’s like my living room’s got a new soul.
The Rising Popularity of Large Crystal Decor
Crystals like amethyst, rose quartz, and clear quartz are everywhere now, popping up in homes and designer mags for their beauty and chill energy. It’s all part of this mindful living wave where decor’s gotta look good and feel good. You can find them online or at local shops, making them super easy to snag. I grabbed a quartz-inspired piece on a whim, and it’s now my desk’s MVP, even if I’m not sure it’s actually calming my stress. Big crystals are a hit because they’re unique, unlike boring mass-produced stuff, and DIY ones let you craft something totally your own.
How DIY Crystals Add Personality to Your Space
DIY crystals are like a love note to your home’s style. You pick the colors, sizes, and finishes to match your vibe—neutral rose quartz for a soft touch or bold rainbow crystals for a loud statement. I went for a purple amethyst look to match my boho couch, though I spilled paint everywhere. You can even sneak in pigments that mean something special, like a color from your wedding or a fave vacation spot. Those personal touches make your crystals not just decor but a story, even if your craft setup’s as chaotic as mine.
Why Handmade Crystals Are a Must-Have
Handmade crystals are where it’s at—folks are ditching cookie-cutter decor for artisanal, eco-friendly stuff. Making your own lets you play with colors and designs while keeping it green with sustainable materials. I used some leftover resin for mine, and it’s got this quirky charm, even if it’s a bit lumpy. Each piece feels like a one-of-a-kind treasure, packed with care and creativity that factory stuff can’t touch. As we lean into unique, planet-friendly decor in 2025, these bespoke crystals are stealing hearts, and I’m already planning my next one.
Step-by-Step Guide to Crafting Large Crystals at Home

Crafting large crystals for home decor is a fun and rewarding DIY project. Follow this step-by-step guide to create beautiful crystals for your home.
Materials You Need to Make DIY Large Crystals for Home Decor
To grow Copper Sulphate crystals, you’ll need these materials:
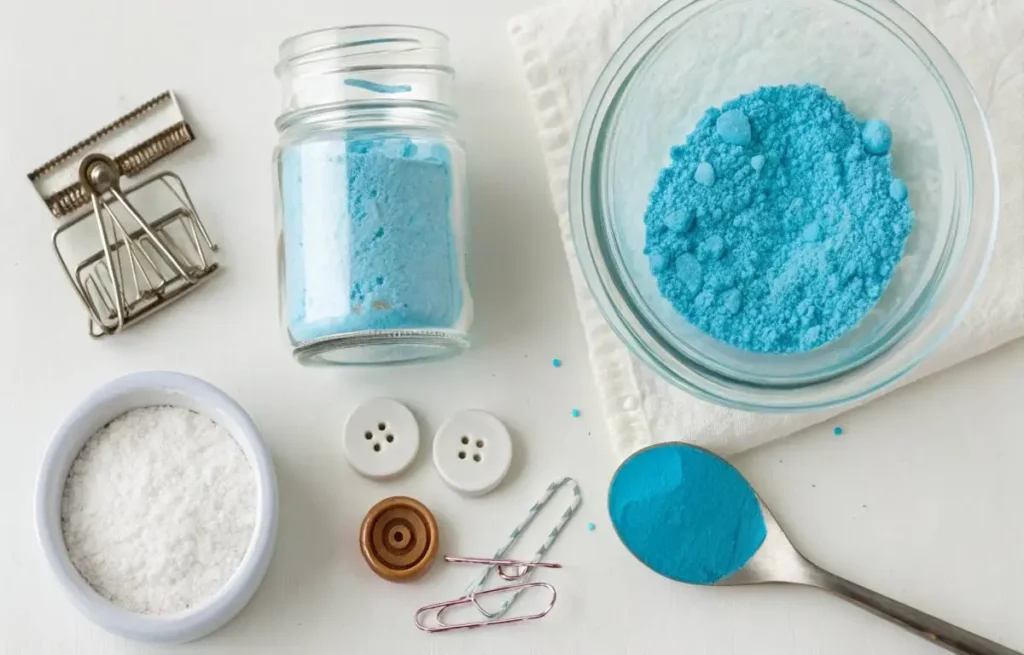
- Copper Sulphate powder
- A clear glass jar
- A small button (to act as a weight)
- Thin wire with plastic coating
- A paper clip
- A spoon for stirring
Step 1: Preparing Your Workspace for DIY Crystal Crafting
Before you jump into making those dazzling DIY crystals, set up your workspace right to avoid a total mess.
Pick a spot with good airflow—resin fumes are no joke, and I learned that after getting a bit woozy last time.
Cover your table with a plastic sheet or something disposable; I used an old shower curtain, but it still got sticky. Have all your stuff ready—resin, pigments, molds, gloves, and tools—so you’re not scrambling mid-pour.
And don’t skip the gear: slap on gloves and eyewear to stay safe from chemicals and sharp bits. I forgot gloves once, and my hands were glittery for days, but it’s worth it for that crystal sparkle.
Step 2: Preparing the Crystal Seed
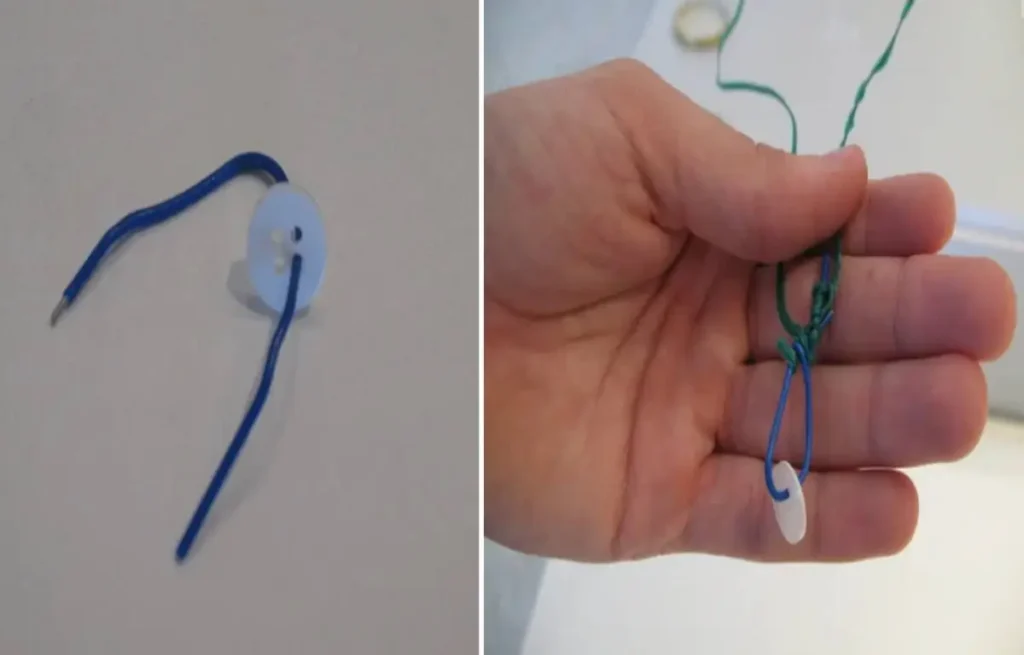
To kick off your copper sulphate crystal adventure, grab a paper clip and a button to make your “seed” where those sparkly crystals will grow. Gently straighten out the paper clip—I fumbled this my first try and ended up with a wonky shape, but it still worked. Slide the button onto the clip through one of its holes, aiming to keep it centered so it hangs nice and even. Then, snip some plastic-coated wire in half to make two equal pieces. Tie each piece tight to the ends of the paper clip to create support lines for suspending it in the jar. I got my wires tangled once, total mess, but it’s key to keep the button fully dunked in the copper sulphate solution. This setup keeps your seed steady, which is clutch for growing those gorgeous, symmetrical crystals you’re after.
Step 3: Preparing The Solution
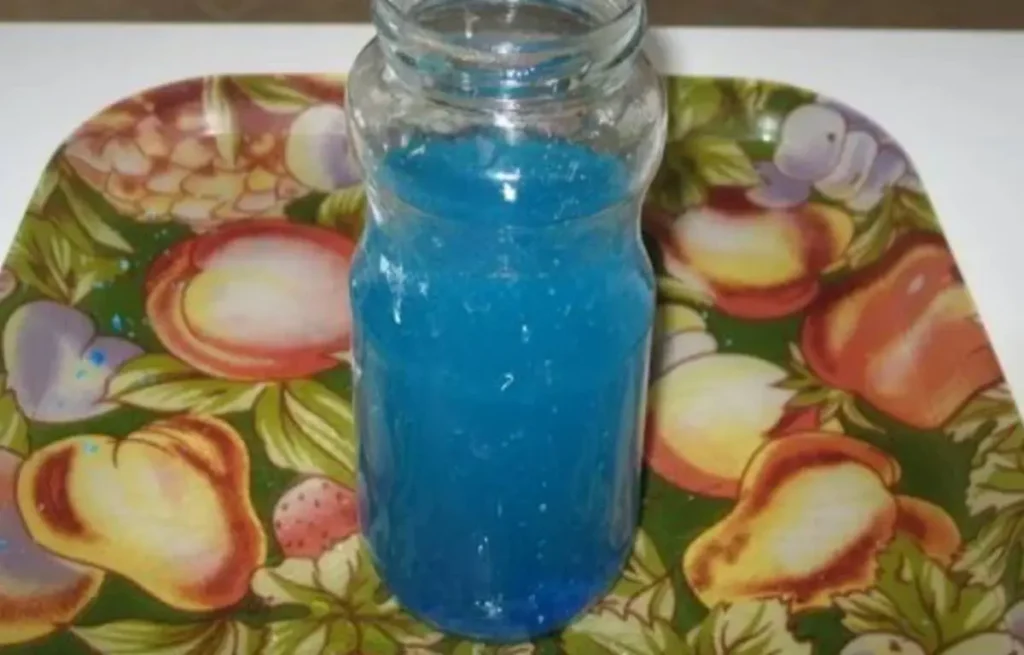
To get those DIY copper sulphate crystals growing, start by pouring hot water into your glass jar—hot enough to dissolve the powder fast, but not boiling, ‘cause I learned that the hard way when I splashed some.
Grab a spoon and add copper sulphate powder bit by bit, stirring like crazy until it vanishes into the water. Keep going, adding more and mixing, until the powder just sits at the bottom, no matter how much you stir—that’s when you’ve hit the sweet spot of a saturated solution.
Fill the jar almost to the top, leaving a smidge of space. You want that deep, inky blue where no light sneaks through; mine looked like a wizard’s potion, even if I got blue specks on my table.
Safety’s key: copper sulphate can soak through your skin, so slap on gloves and work in a breezy spot. Wash your hands after, unless you want to explain blue fingers like I did.
Step 4: Allow the Seed to Make Magic
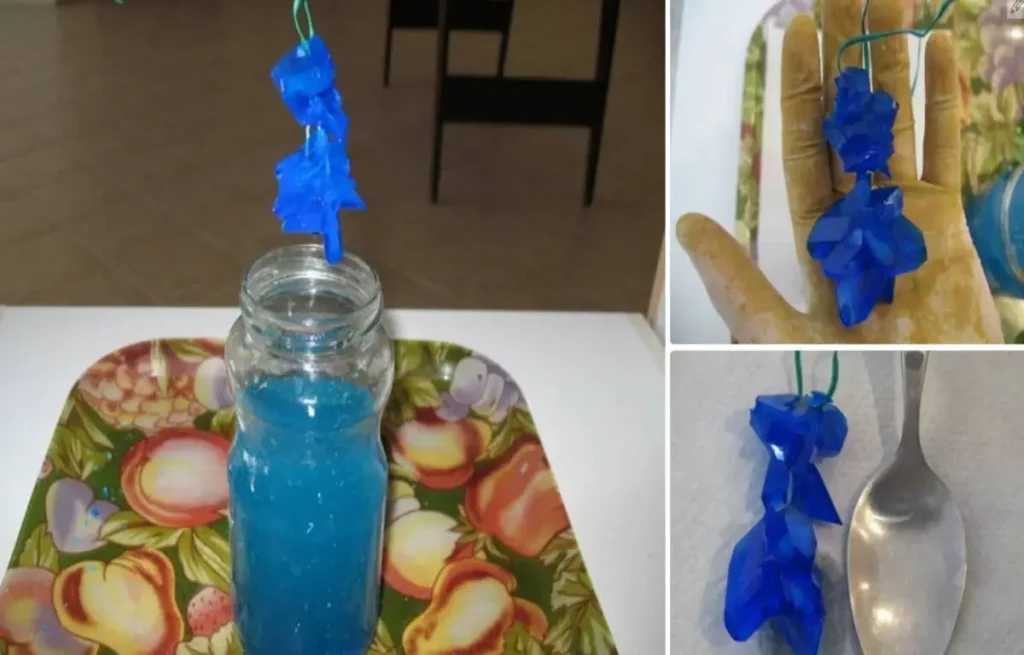
Now for the fun part—take your wire and button setup and gently lower it into that inky blue copper sulphate solution. Fiddle with it so the button hangs halfway down, not touching the jar’s sides or bottom; I bumped the edge once and had to start over.
Keep that button fully dunked and centered for even, gorgeous crystals. Once it’s set, don’t mess with the jar—moving it can wreck the crystal magic, leaving you with tiny, wonky ones.
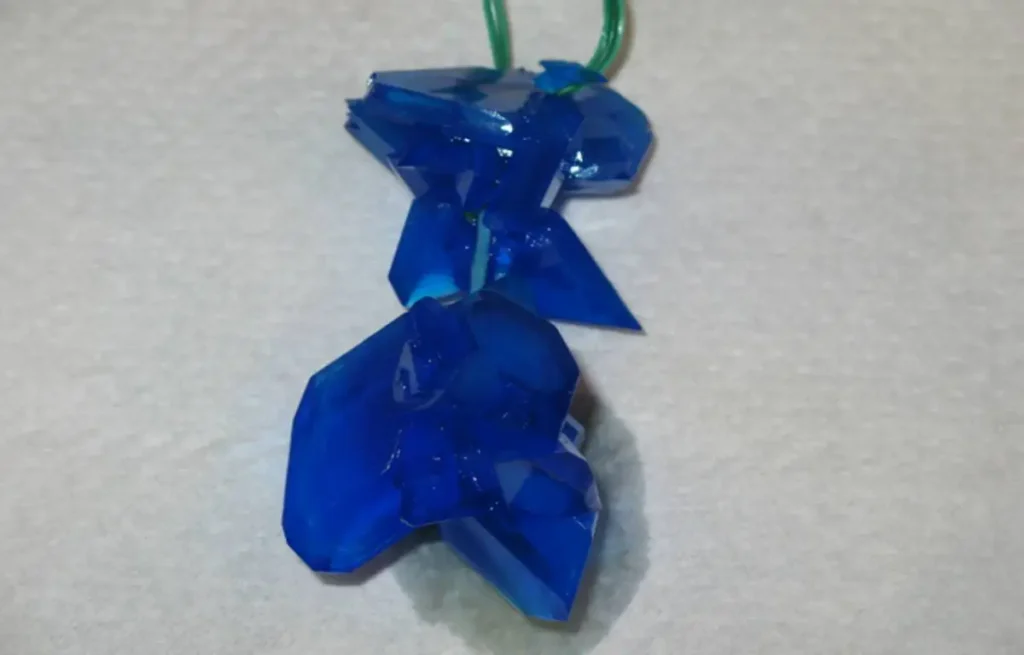
Stash it in a quiet, room-temp spot for at least 24 hours. By then, you’ll see shiny blue crystals popping up on the button and wires; mine looked like tiny gems, totally thrilling.
Want bigger ones? Let it sit a few more days—the longer it’s in that deep blue juice, the beefier they get. A super saturated solution’s key for vibrant, chunky crystals.
When you’re happy with the size, carefully fish out the crystal-covered setup and pat it dry with paper towels—go easy, ‘cause those babies are fragile. I broke one my first try, oops. Congrats, you’ve got yourself some dazzling copper sulphate crystals!
Conclusion
DIY large crystals aren’t just a hot trend—they’re like a love letter to your home’s style, screaming creativity and personal flair. Whether you’re crafting a showstopper centerpiece, a glowing crystal lamp, or a sparkly cluster, you can make them fit any vibe, from boho to sleek. I tried my hand at a crystal cluster last week, and despite a resin spill that’s still stuck to my table, my living room’s now a glittery sanctuary. With the right materials and a sprinkle of imagination, you can add luxe, elegant touches that feel totally you. Follow these steps to whip up your own crystal creations and turn your space into a dazzling haven, even if your craft corner’s as chaotic as mine!
People Also Found Helpful
Galaxy Jar Decoration: Stunning Celestial Magic
Boho Basket Wall Decor: Stunning Ideas You’ll Love
DIY Seashell Mirror: The Most Beautiful Coastal Decor
FAQs
What stuff do I need to make DIY large crystals?
Grab some resin, molds, pigments, gloves, and a work surface to keep things tidy. Toss in glitter or metallic finishes for extra bling—I went overboard with glitter once, and my floor’s still sparkly. You’ll be set to craft some serious crystal magic.
How long does it take to whip up large DIY crystals?
It usually takes 24-48 hours for the resin to cure, depending on what you’re using. I made one last weekend and stared at it like a kid waiting for cookies to bake—patience is key, but it’s worth it for the shine.
Can I use real crystals in DIY home decor projects?
Heck yeah, real crystals like quartz or amethyst can level up your projects. They’re a bit trickier to handle—I dropped a quartz once and nearly cried—but they add such a legit, earthy vibe to your creations.
Where’s the best spot for my DIY large crystals at home?
Pop them on coffee tables, mantels, or shelves for max wow factor, or make them a centerpiece. I stuck one on my mantel, and it’s the star of the room, even if I keep knocking it over when I dust.
Are large crystals for home decor pricey?
DIY ones are pretty wallet-friendly—resin and molds won’t break the bank compared to real big crystals. I made a chunky one for cheap, though my glitter obsession added up. Real crystals cost more, but DIY’s the way to go for affordable sparkle.