
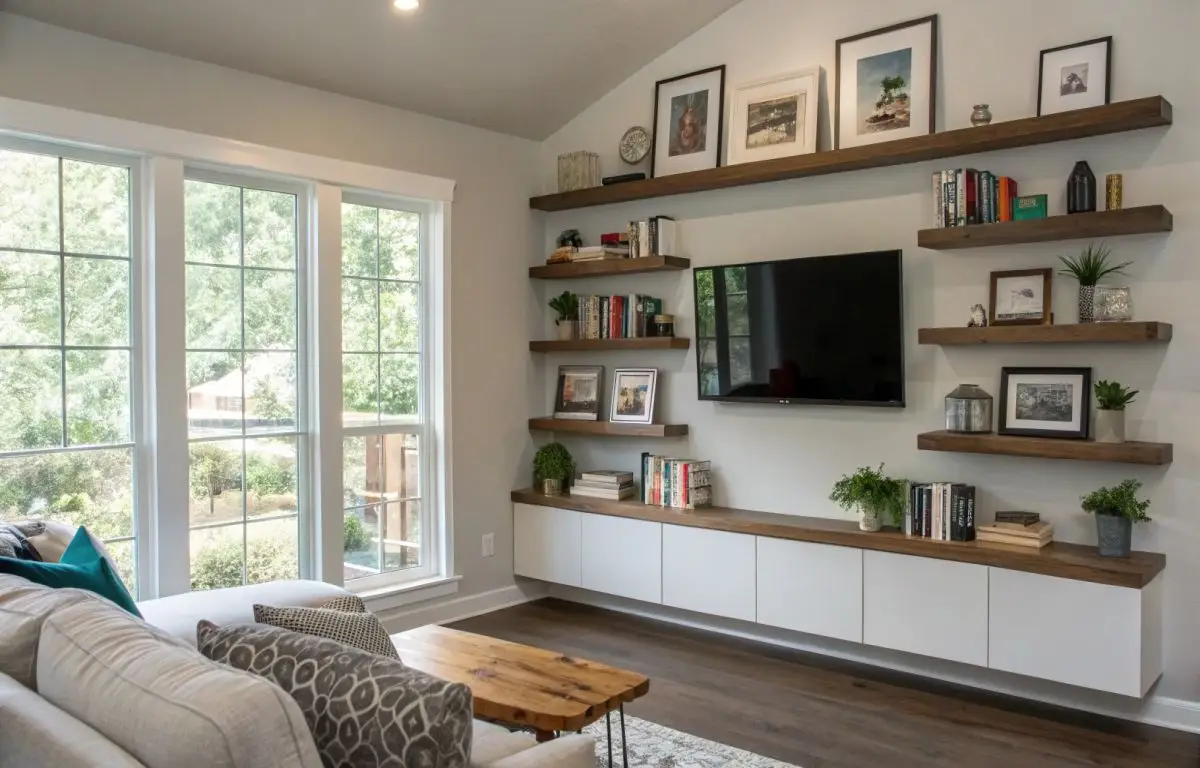
DIY floating shelves are a stylish and practical way to maximize storage without taking up floor space. Whether you’re looking to organize books, display decor, or add functionality to a small room, DIY floating shelves provide a sleek, modern solution. With the right materials and tools, you can create sturdy, beautiful shelves that enhance your home’s aesthetic. These shelves are easy to install and offer a budget-friendly way to transform your space with minimal effort.
Floating shelves are particularly beneficial for those who want to utilize vertical space efficiently. Unlike bulky bookcases or cabinets, these shelves create an airy, uncluttered look while still providing ample storage. They can be installed in various rooms, from kitchens to bathrooms and even bedrooms, making them a versatile addition to any home.
Benefits of DIY Floating Shelves
1. Maximize Storage in Small Spaces
DIY floating shelves are an excellent way to maximize wall space, allowing you to store books, plants, and decorative items without overwhelming your floor. This is particularly useful in small apartments or rooms with limited square footage.
In urban areas, where apartments are shrinking in size, maximizing every inch of space is crucial. A study by the National Association of Home Builders (NAHB) found that over 60% of homes built in major cities are now less than 2,000 square feet. Floating shelves can be installed above desks, near ceilings, or in tight corners, making them perfect for studio apartments, dorm rooms, and minimalist designs.
For instance, placing a floating shelf above your workspace can free up precious desk space while keeping your essentials within reach. The concept of using vertical space is essential, as it allows you to retain floor space while still incorporating storage.
2. A Cost-Effective Alternative to Store-Bought Shelves
Creating your own floating shelves is significantly cheaper than buying pre-made shelves from a store. With just a few materials—wood, brackets, screws, and some basic tools—you can create customized shelves that are perfectly suited to your space.
Pre-made shelves often come with hefty price tags, especially those made from high-quality materials like walnut or oak. However, opting for DIY allows you to select materials that match your budget. For example, plywood or MDF are affordable options that still provide a solid foundation, while reclaimed wood offers an eco-friendly choice that also adds character to your home.
This cost-saving benefit means that DIY floating shelves are a perfect solution for homeowners looking to make an impact without spending too much. And unlike mass-produced shelves, the personalization options are endless—you get to choose the design, the finish, and the dimensions that suit your needs.
3. Customizable Design to Match Any Decor
One of the most appealing aspects of DIY floating shelves is the ability to customize them to match your existing décor. Whether you prefer a rustic, industrial, or modern aesthetic, these shelves can be tailored with different finishes, stains, or paint colors to fit perfectly with your home’s style.
For instance, reclaimed wood adds a farmhouse vibe, while sleek, dark-stained wood suits a more contemporary design. You could even mix and match materials, such as pairing wood with metal brackets for an industrial look, or using glass shelves for a minimalist style.
The customization possibilities make floating shelves a unique addition to any room, ensuring that they not only serve a practical purpose but also contribute to the overall design of your space.
Step-by-Step Guide to Building DIY Floating Shelves
1. Gather Your Materials and Tools
Before you begin, make sure you have the right materials and tools on hand. The basics include wood boards, a saw, screws, brackets, a level, and wall anchors. Selecting the best materials is crucial to ensuring that your shelves are sturdy and durable.
High-quality wood, such as oak or maple, offers strength and durability, while MDF or plywood provide a budget-friendly alternative. Be sure to use heavy-duty brackets if you plan to store heavier items like books or kitchen appliances, as these will provide more support. Additionally, heavy-duty wall anchors are essential when mounting on drywall or other less-sturdy surfaces.
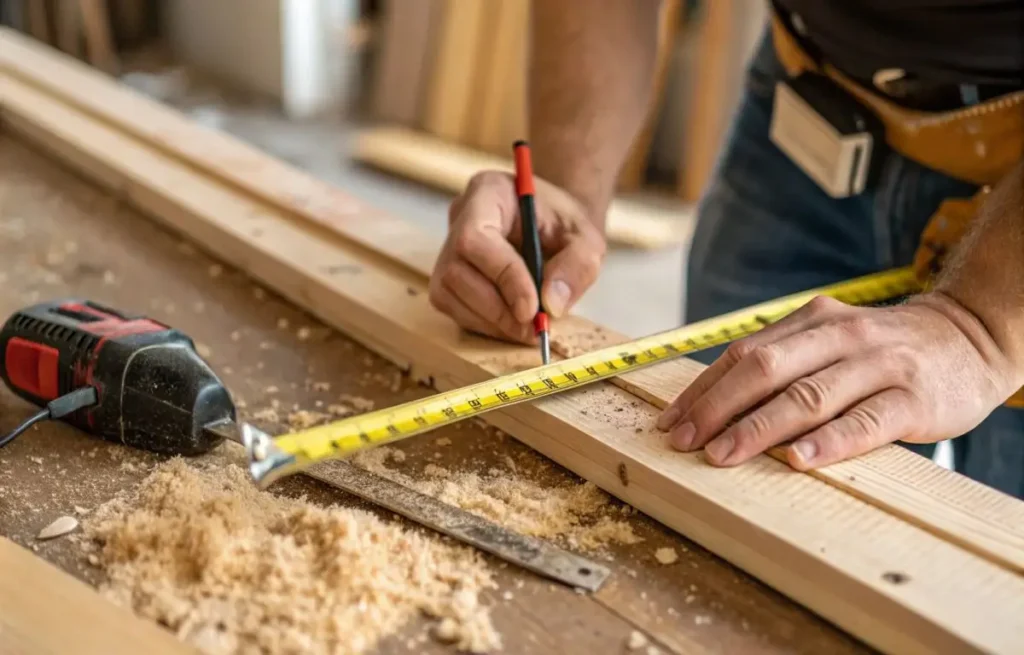
2. Measure and Cut the Wood
Accurate measurements are the key to success when building floating shelves. Start by measuring your available wall space and decide on the length and depth of your shelves. Use a saw to cut the wood to size, then sand the edges for a clean, smooth finish. Precision is essential here—measuring twice and cutting once will ensure that the shelves fit perfectly.
To achieve a polished look, use fine-grit sandpaper to smooth out any rough edges, giving the shelves a professional appearance.
3. Install the Brackets Securely
Use a level to ensure the brackets are aligned straight before securing them to the wall. Proper bracket placement is crucial for ensuring the stability of the shelves. Install the brackets with wall anchors if mounting on drywall. For brick or concrete walls, use a masonry drill bit to ensure the anchors are securely embedded in the wall.
Incorrect bracket placement can cause the shelves to tilt or become unstable, so double-check your measurements before drilling. Wall anchors are particularly important for drywall installations, as they prevent the screws from loosening over time.
4. Attach the Wood Shelves
Once the brackets are securely in place, position the wood shelves on top and attach them with screws if necessary. Be sure everything is aligned and stable before adding items to the shelves.
If you’re going for a “floating” effect, hidden brackets or a cleat system can give a sleek, seamless look. These methods support the shelves without being visible, maintaining the minimalist aesthetic of floating shelves. Test the stability of the shelves before placing heavy objects on them—this ensures that they are securely mounted and won’t shift over time.
Creative Ways to Style Your DIY Floating Shelves

1. Organizing with Baskets and Bins
Decorative baskets and bins are an excellent way to organize small items while maintaining a clean and stylish appearance. Not only do they help keep your space clutter-free, but they also add texture and color to your shelves. This method is especially effective in high-traffic areas like entryways, bathrooms, or kitchens.
Woven baskets in earthy tones can complement a rustic décor, while sleek, metal bins provide a more modern, industrial feel. This combination of form and function makes your floating shelves both practical and aesthetically pleasing.
2. Mixing Decorative and Functional Items
A successful floating shelf display often combines functional items with decorative pieces. For example, alternating between books, plants, and artwork can create a well-balanced display that’s both practical and visually appealing.
For a dynamic look, group items of different heights and textures together. A large potted plant beside a stack of books, along with a framed picture, can create a layered effect. The key is to keep the arrangement varied—mixing tall and short items, different materials, and complementary colors helps achieve a curated look.
3. Using LED Lights for an Elegant Touch
Adding LED strip lights underneath your floating shelves can make a big difference. Not only does it highlight the objects on your shelves, but it also adds a warm, inviting glow to your room. LED lights are available in various forms, including battery-powered puck lights or plug-in strips, so you can choose the option that works best for your space.
The soft glow from LED lights can transform your shelves into a focal point, especially in dimly lit rooms. Whether you use them for practical purposes, like lighting up a workspace, or simply for ambiance, they enhance the overall effect of your shelves.
Advanced DIY Floating Shelf Ideas
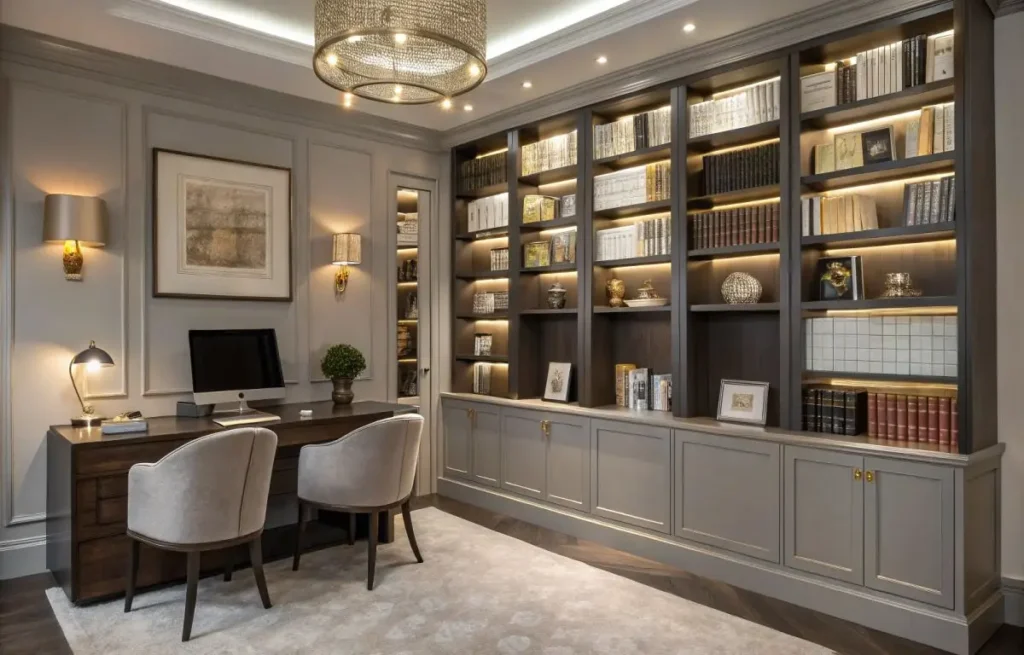
1. Floating Bookshelves for a Modern Library
A creative and modern way to use floating shelves is by turning an entire wall into a floating bookshelf. This is an excellent idea for a home office or reading nook, offering both style and function in a minimalist design. Floating bookshelves are perfect for creating a sleek, contemporary library that adds a unique touch to your space.
2. Floating Kitchen Shelves for Extra Storage
In the kitchen, floating shelves are perfect for displaying dishware, spices, or cooking utensils. They provide quick and easy access to frequently used items while freeing up cabinet space. Floating shelves are also great for showcasing attractive dishware or decorative pieces, giving your kitchen a more open and airy feel.
3. Floating Bathroom Shelves for a Spa-Like Feel
In the bathroom, floating shelves can store towels, toiletries, and decorative accents. They help create a clean, organized space that feels luxurious and spa-like. With just a few well-placed shelves, you can transform your bathroom into a serene retreat without sacrificing style or functionality.
Conclusion
DIY floating shelves are a simple yet effective way to add style and functionality to any space. By following these steps and styling ideas, you can create shelves that are both practical and aesthetically pleasing. Whether for storage or decoration, DIY floating shelves are a perfect home improvement project for any skill level. With a bit of creativity and effort, you can enhance your home with stylish and efficient shelving solutions.
From organizing books to showcasing decorative items, floating shelves provide endless possibilities for home design. Their affordability, versatility, and ease of installation make them an excellent choice for homeowners looking to upgrade their interiors without major renovations. Try out different styles and configurations to find the perfect floating shelf design for your space!
FAQs
1. How much weight can DIY floating shelves hold?
DIY floating shelves can hold varying amounts of weight depending on the materials used and the installation method. Typically, they can hold between 10-50 pounds per shelf.
2. What materials do I need to build DIY floating shelves?
You’ll need wood, brackets, screws, wall anchors, a saw, a level, and a drill. For heavier loads, opt for stronger brackets and solid hardwood.
3. Can floating shelves be installed in any room?
Yes, floating shelves are versatile and can be installed in any room, including kitchens, bathrooms, living rooms, and bedrooms.
4. How do I ensure my DIY floating shelves are level?
Use a level when installing the brackets to ensure the shelves are straight. Double-check the measurements before securing the shelves.
5. Are DIY floating shelves easy to install?
Yes, with the right tools and materials, DIY floating shelves are relatively easy to install and can be done by beginners with a little patience.
People Also Read
Easy Pallet Ideas: Cheap Upgrades To Your Backyard
5 Reasons Why Built-In Wardrobes Are the Ultimate Space Savers