
Forget those sad office cork boards—these days, they’re like a playground for your inner artist. I was poking around my craft stash last week, half-bored, and realized a cork board could be way more than a place for to-do lists. Whether you’re a total DIY rookie or, like, always covered in glue, you can turn one into something awesome. It’s not just about keeping your life organized; it’s about making your walls look good with something that’s useful too. Wanna whip up a piece that makes your guests go, “No way, that’s a cork board?” Let’s dive into some ideas to make your space feel a little fancier, or at least less boring.
Why DIY Cork Board Art Is Taking Over Home Decor
Cork boards have totally shed their boring office vibe and turned into something way cooler for decorating. I was messing around with one the other night, and it hit me how perfect they are for cheap, custom decor. Everyone’s into making their space their own without spending a fortune, and cork boards? They’re like the Swiss Army knife of DIY. You can make artsy wall pieces, clever organizers, or just have a blast tinkering. Honestly, it’s hard to go wrong—they fit whatever vibe you’re going for, whether that’s fancy or just, you know, not dull.
Why DIY Cork Board Art Is So Popular:
Cork boards are so easy to make your own, it’s almost unfair how good they look in any room. I was messing with one last night, trying to match my half-modern, half-messy apartment, and it just works. They slide right into any style—think sleek, minimalist vibes or that cozy, farmhouse feel with all the plaid. Honestly, it’s no wonder everyone’s jumping on the cork board bandwagon for home decor—it’s like they were made to be cool without even trying.
- Customizable: You can jazz up cork boards with any paint, fabric, or random trinkets to match your room’s vibe. I slapped some leftover fabric on one, and it’s now the star of my living room—kinda by accident.
- Eco-friendly: Lots of cork boards come from sustainable stuff, which is awesome if you’re into saving the planet. Feels good to craft something green, you know?
- Practical: These aren’t just pretty—they’re perfect for pinning photos, notes, or that one reminder I always forget. It’s like decor that actually works.
- Affordable: Cork boards won’t break the bank, especially when you’re DIY-ing. I made one for cheap, and it looks way pricier than it was.
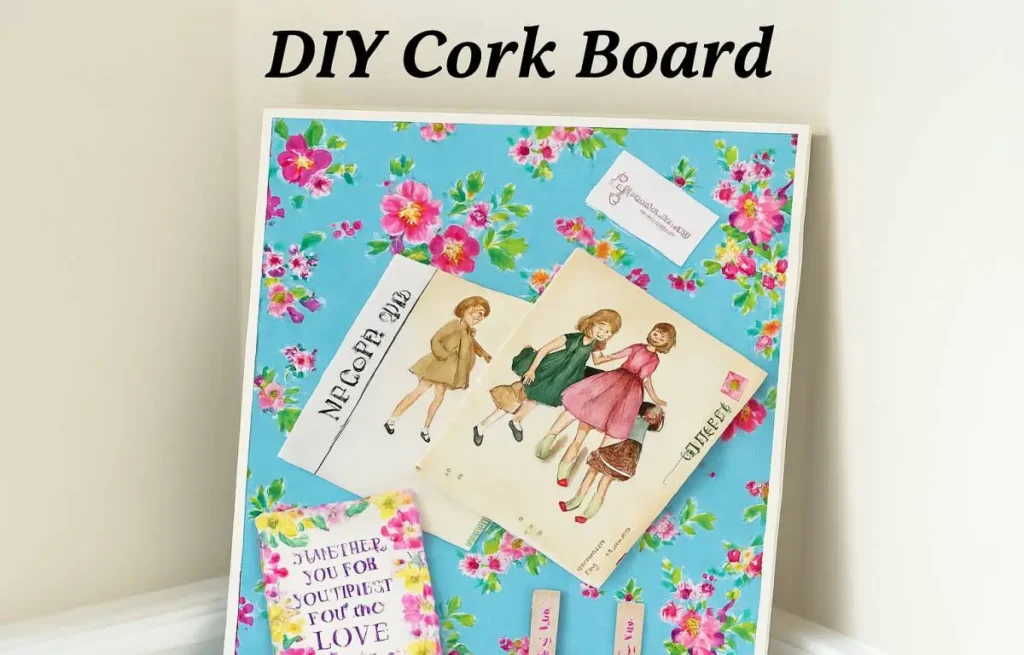
Full Guide: Easy Fabric Cork Board
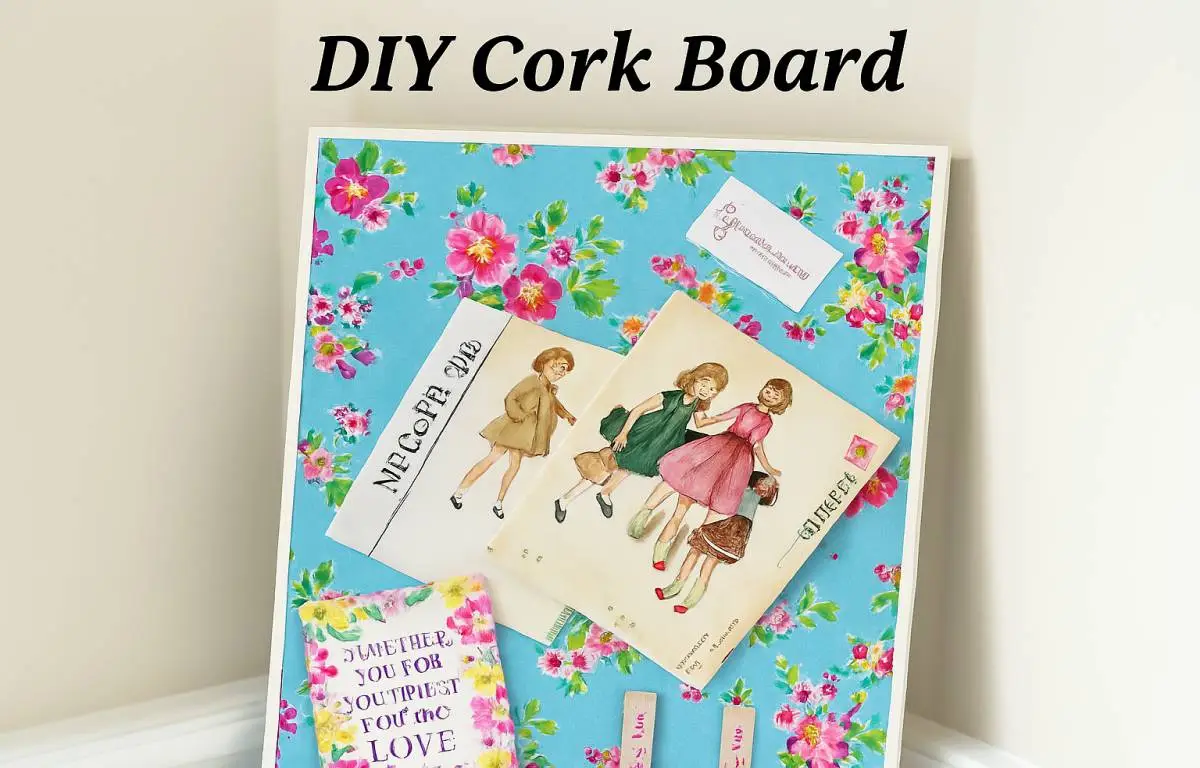
If you’re the type who hoards fabric scraps like they’re gold—guilty as charged—this Easy Fabric Cork Board is your kind of project. It’s super simple but adds this pop of color and texture that makes any room feel alive. I made one last weekend, and every time I walk by, I’m like, “Dang, I did that?” It’s practical too, perfect for pinning notes or photos. Wanna give it a whirl? Let’s dive in and make something you’ll grin about!
Materials
- 1 cork board
- 1 piece of fabric (about 1″ larger than your board on all sides)
- Flat metal pushpins
- Scissors or rotary cutter
- Hem gauge
- Iron
Step By Step Guide
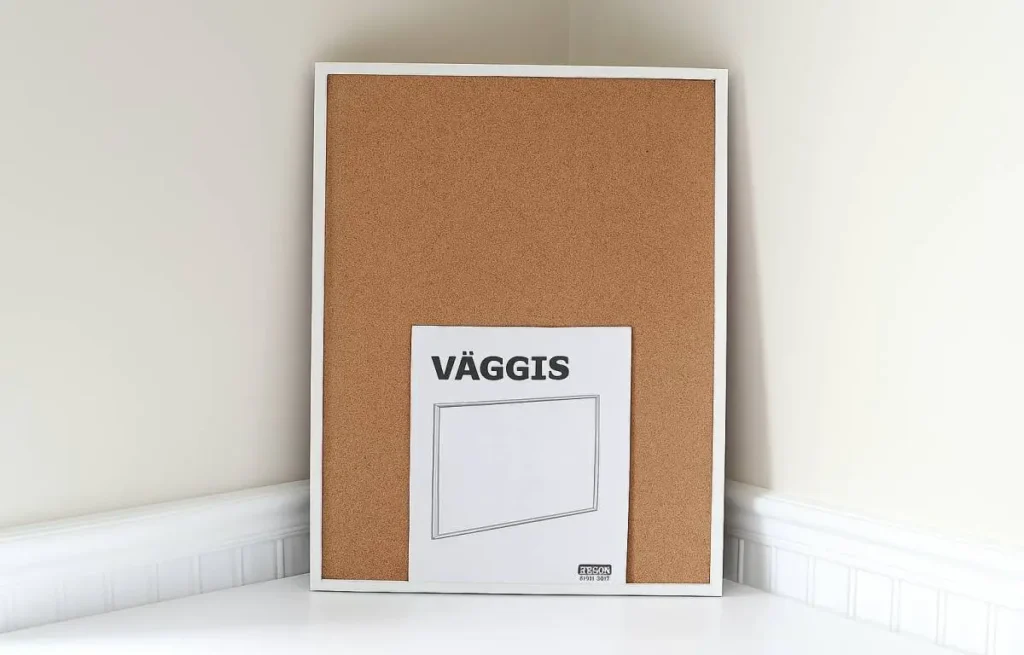
Start by picking a basic cork board. I used the Vaggis board from IKEA—it’s simple, clean, and super affordable at just $5.99. Just last weekend, I even found a similar one at a local thrift store for only $2. If your cork board has a frame you’re not crazy about—maybe it’s brown or a color that doesn’t fit your style—you can easily spray paint it before you start. This makeover works well even with more decorative cork boards too. Hobby Lobby has some beautiful options, but honestly, I love how stunning this project looks without needing to spend much.
Next up, measure the cork part of your board. Mine measured about 22 inches by 14 ¾ inches.
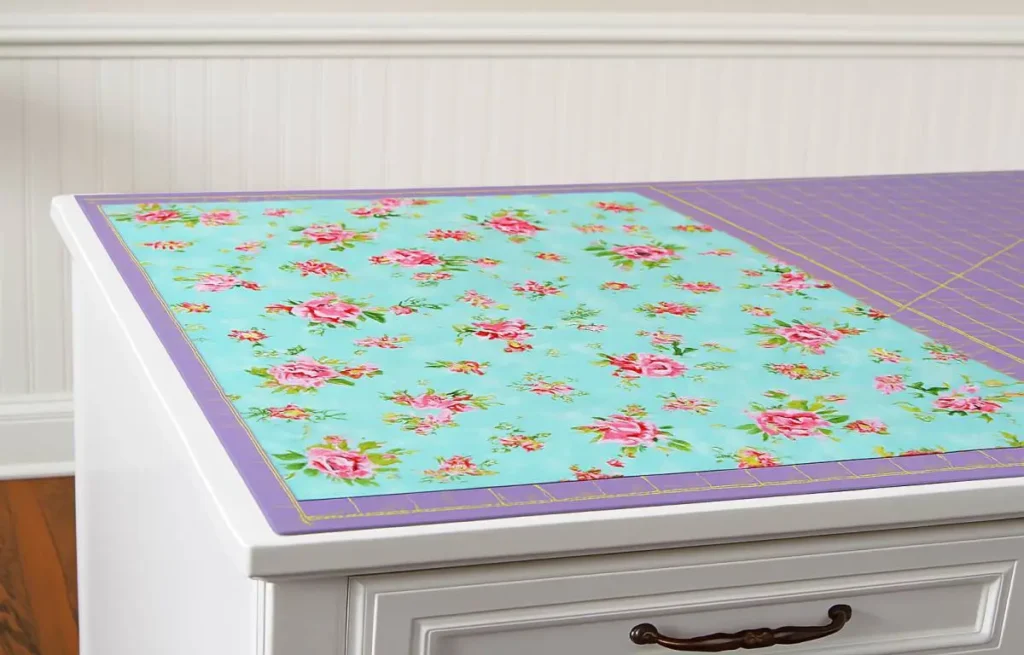
Cut your fabric about 1 inch larger than the cork area of your board—try to be as precise as you can so it wraps neatly around the edges. I used a lovely aqua blue fabric by Jennifer Paganelli from the Happy Land collection, something I’ve held onto for quite a while. Pick a fabric that suits your style and makes you smile every time you see it.

Alright, grab your fabric and fold it about ½ inch toward the wrong side, using a hem gauge to keep things neat—I’m terrible at eyeballing it, so this saves me. I usually start with the two long sides, pressing them down first, then tackle the short ones. It’s easier to fix any wonky bits that way, trust me. If your measurements look a little off, no big deal—just re-press and nudge the fabric ‘til it fits like a glove. You got this!
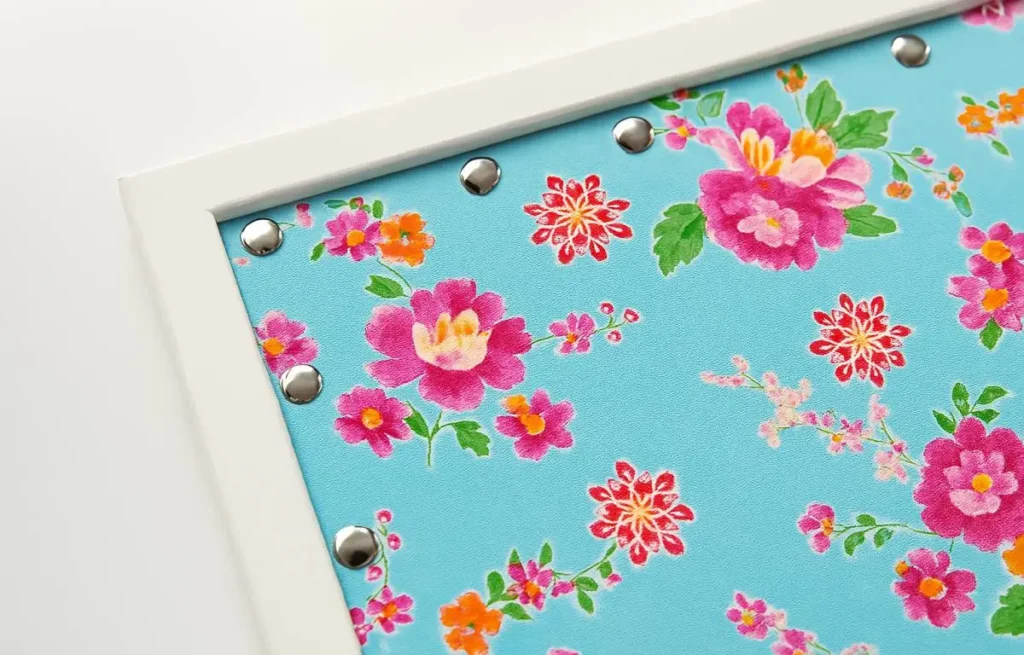
Next, drape your fabric over the cork board and pin down the four corners with those flat metal pushpins—keeps it from slipping. Then, move along the edges, sticking pins wherever feels right, close or spread out, your call. If you see any lumps or wrinkles, just smooth ‘em out as you go. I tried spray adhesive once to stick the fabric first, and it kinda worked, but good luck fixing ripples after—it’s a pain. If you try it, lemme know if it’s less of a hassle for you! Gotta say, this part’s where it starts looking like actual art.
More DIY Cork Board Ideas
Cork boards are an ideal starting point for anyone new to DIY. They don’t need fancy tools or complicated skills, but the results can still be impressive. Let’s jump into a few easy ideas that anyone can try:
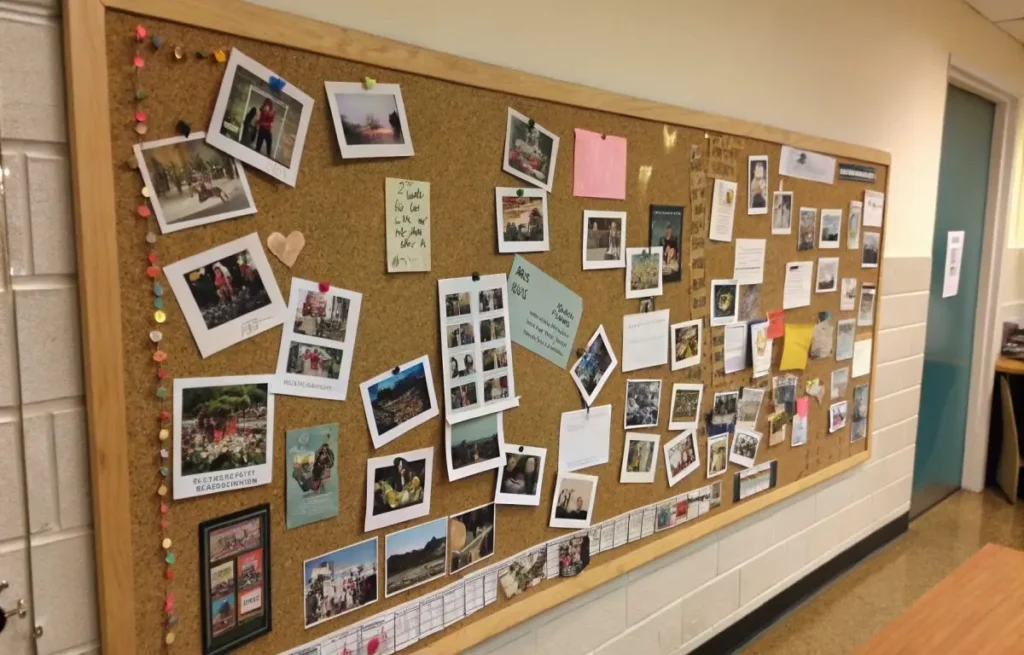
1. Framed Cork Board Gallery Wall
I was staring at my blank living room wall last week and thought, why not make a bunch of small cork boards into something cool? You can arrange them in a tidy grid, go for a funky geometric pattern, or just scatter them all wonky for a modern vibe. It’s such an easy way to mix different shapes and sizes, and it makes your space look way more interesting than I expected.
Tip: Pop some colorful or rustic frames around the cork boards to level up the look. I tried mixing textures too—like smooth and bumpy cork—and it adds this neat depth that’s honestly kinda fun to stare at.
2. Personalized Cork Board Mural
For a creative beginner project, try making a mural using cork pieces. Begin by sketching a simple design right on the cork, then cut and arrange the pieces to follow your drawing. Add some paint for final touches and details, turning your cork board into a unique, personalized work of art.
- Tip: Experiment with different paint colors and patterns for a unique look. You could even integrate a favorite quote or motivational message into the mural.
3. Cork Board Bulletin Boards with String Lights
I was tinkering with a cork board last night, and wrapping it with fairy lights turned it into something straight out of a cozy dream. Those twinkly lights don’t just make it look pretty—they give your room this warm, magical vibe that’s perfect for chilling. It’s such an easy project, even for someone like me who’s not exactly a crafting pro. Plus, it’s still a cork board, so it’s useful too. Wanna make your space feel a little enchanted? This one’s a fun start.
Tip: Go for fairy lights with a warm glow—they’re way cozier. I stuck some photos and a random postcard on mine, and now it’s like my wall’s telling a story. Makes it personal and handy all at once.
Avoid These Common DIY Cork Board Art Mistakes for Perfect Results
DIY cork board art is definitely fun and creative, but there are a few common pitfalls to watch out for if you want the best results. By paying attention to the little details, you can make sure your project not only looks polished but also lasts for years to come.
1. Skipping the Prep Work
Before you jump into your cork board masterpiece, take a sec to make sure it’s clean and smooth. I skipped this once, and my fabric ended up all bumpy—total rookie move. Dust or rough spots can make your project look kinda sloppy, so wipe it down good. Also, grab decent adhesives and paints. Cheap ones flake off, and that’s just annoying after all your effort. You want this thing to look awesome for a while, right?
Tip: Lightly sand the cork to nix any rough bits. I tried it with an old sanding block, and it made the paint stick so much better. Clean surface, happy crafting.
2. Overcrowding the Design
I totally get the urge to plaster your cork board with every photo and note you’ve got—it’s so tempting! But I learned the hard way that piling on too much makes it look like a cluttered mess. Instead, go for a mix of practical and pretty, keeping it tidy but still fun to look at. You want it to feel like you without taking over the whole room, right?
Tip: Leave some blank spots for that clean, minimalist vibe. I started grouping stuff with little frames or borders, and it makes everything look way more organized and, honestly, kinda chic.
3. Using the Wrong Materials
When you’re choosing stuff for your cork board, keep an eye on weight and texture. I learned this the hard way when I tried pinning some chunky decorations and nearly wrecked my board. Heavy or bulky bits can make it tough to hang or even mess up the cork. Test your materials on a tiny corner first—I wish I’d done that before my first attempt went all wonky. That way, you know they’ll stick and look good.
Tip: Stick with light, bendy materials that glue or pin easily without ruining the cork. I like picking decorative stuff that vibes with the cork’s natural, kinda earthy texture—it just looks right.
Conclusion:
There’s something so satisfying about DIY cork board art—it’s cheap, easy, and makes your home feel like yours. I got sucked into making a memo board last weekend, and now I’m itching to try a fancier wall piece. You don’t need much—just a few supplies—and suddenly, a boring cork board is this cool, unique thing. Grab your stuff and start messing around with it. I bet you’ll end up with something way prettier than you planned, even if it’s a little lopsided like mine.
FAQs
1. What materials do I need for DIY cork board art?
You’ll need cork boards, a cutting tool, adhesive, paint, and decorative materials like fabric, paper, or metal accents.
2. How do I make a cork board wall sculpture?
Layer and shape cork pieces into 3D forms, then paint in bold colors or metallic shades. Add reflective materials like mirrors for extra effect.
3. Can I use cork board for outdoor projects?
Cork is best for indoor use due to weather sensitivity, but with proper sealing, you can use it outdoors in sheltered areas.
4. How do I create an interactive cork board world map?
Arrange cork pieces to form a world map, then use push pins or photos to highlight places you’ve visited or want to visit.
5. How can I make my cork board art more personalized?
Add personal touches like photos, favorite quotes, or unique materials like reclaimed wood or decorative paper for extra character.
People Also Read